Original article by David Graper, former SDSU Extension Horticulture Specialist and Master Gardener Program Coordinator. Updated by Kristine Lang, Assistant Professor and SDSU Extension Consumer Horticulture Specialist; and Rhoda Burrows, former Professor and SDSU Extension Horticulture Specialist.
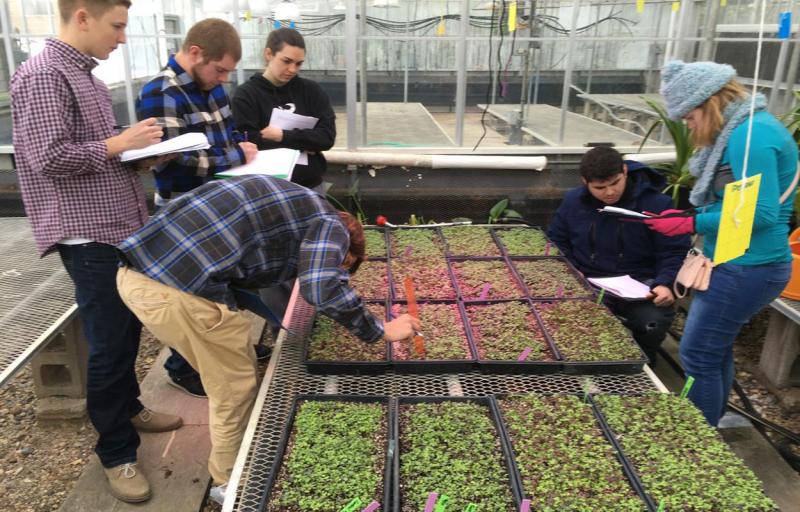
The cold, dark months we experience in South Dakota don’t have to mean the end of the gardening season. The fall through early spring season can provide an opportunity to grow certain food indoors. Growing microgreens can be an excellent way to add nutritious, fresh vegetables to your diet without taking up a lot of space in your home.
About Microgreens
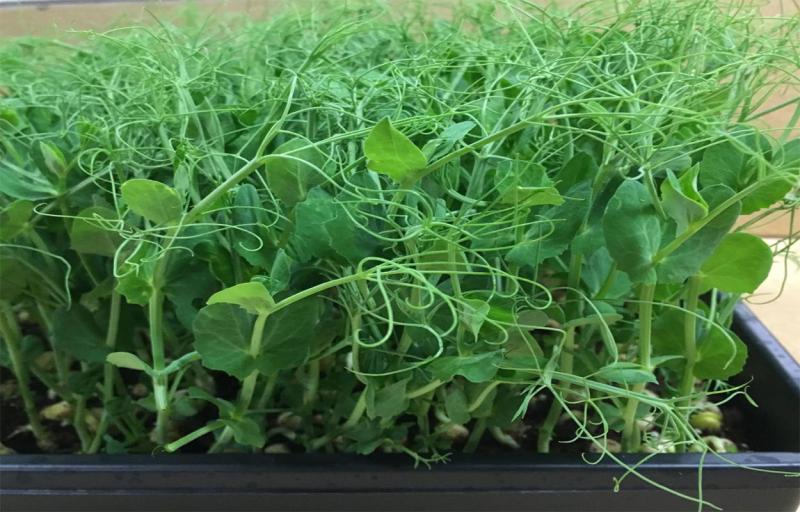
As the name implies, microgreens are grown only for a short time before they are harvested, usually only for about three weeks. Microgreens do not take up a lot of room and do not need to be grown in a fully functioning greenhouse. You can grow them on a sunny windowsill or with supplemental lights. They can be grown in ordinary flowerpots or, more commonly, shallow trays, such as 1020 greenhouse flats. You can use soilless potting mixes for growing microgreens, which are available at local garden retailers.
There are a wide variety of vegetables and herbs that can be used to grow microgreens. Generally, they consist of any of the herbs and popular leafy greens and immature root and legume vegetables such as:
- Arugula
- Basil
- Beans
- Beets
- Broccoli
- Cabbage
- Celery
- Chard
- Cilantro
- Fennel
- Kale
- Mustard
- Peas
- Radish
Seed Selection

If you do a little searching on the internet for microgreen seed, you will find numerous companies that sell the seed, and many that sell kits for growing them. Often you will be able to find blends of different kinds of seed to provide a mild or spicy blend of plants that also come in a variety of colors to not only tantalize your palate, but also brighten up your next salad. You can also find seed at your local nursery, garden center, hardware store, discount outlet store or anywhere garden seeds are sold. One of the most-important considerations in selecting the kind of microgreens that you are going to grow, however, is that you purchase untreated seed, and most people prefer to get USDA certified organic seed for additional assurance. Since you are eating the young shoots of these plants, seed treatments might be in the shoots, and you would not want to consume those dyes, fungicides or insecticides that were applied to the seeds.
Keeping it Safe
When planting and harvesting microgreens, always use good food safety practices. Wash your hands prior to planting seed and before harvesting the plants. Use new or sanitized flats or pots and clean knives or scissors. Mix up only as much fertilizer as needed each time, and clean the container between uses; both plant and human pathogens can multiply over time in the rich nutrient solution kept at room temperature. For the same reason, try to avoid getting liquid fertilizer onto the seedling stems/leaves. Below are three steps for planting microgreens.
Planting Microgreens
Step 1
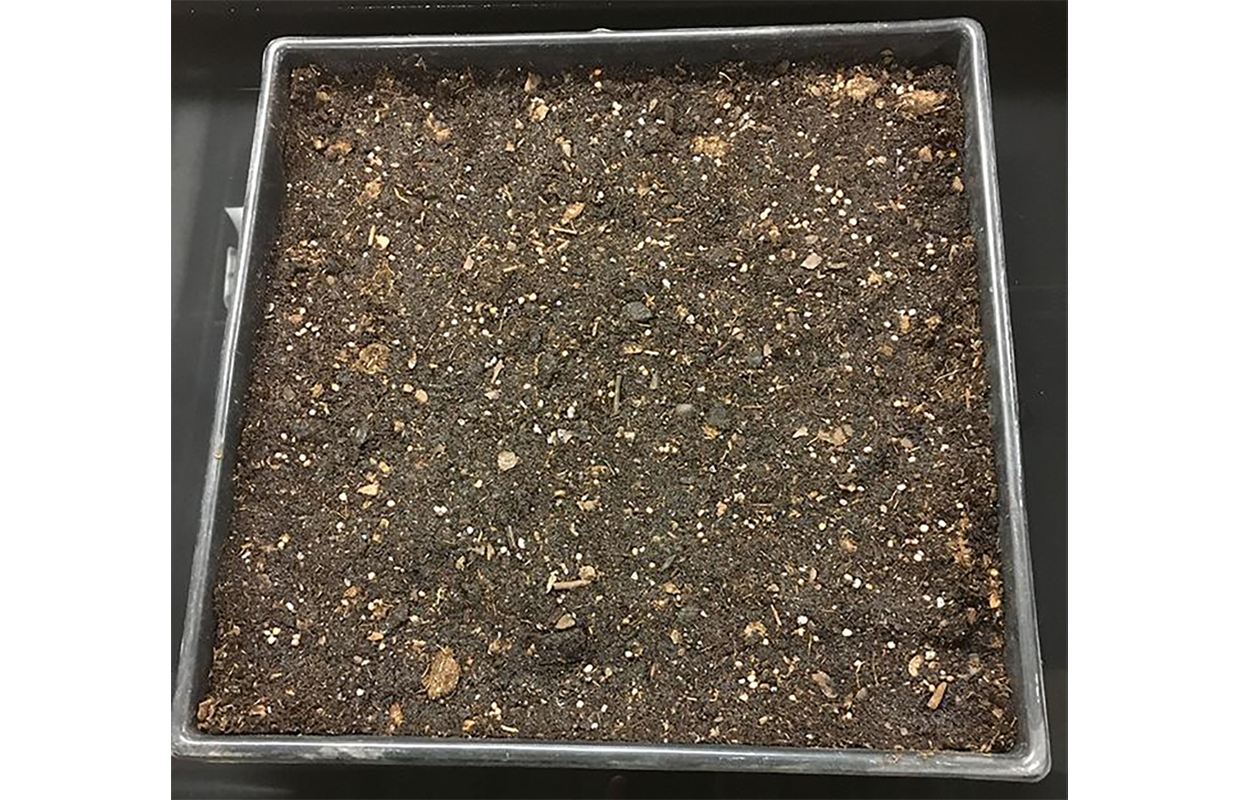
It’s easy to plant most microgreens. Begin by filling a flat or pot nearly full with a moistened growing medium.
Step 2
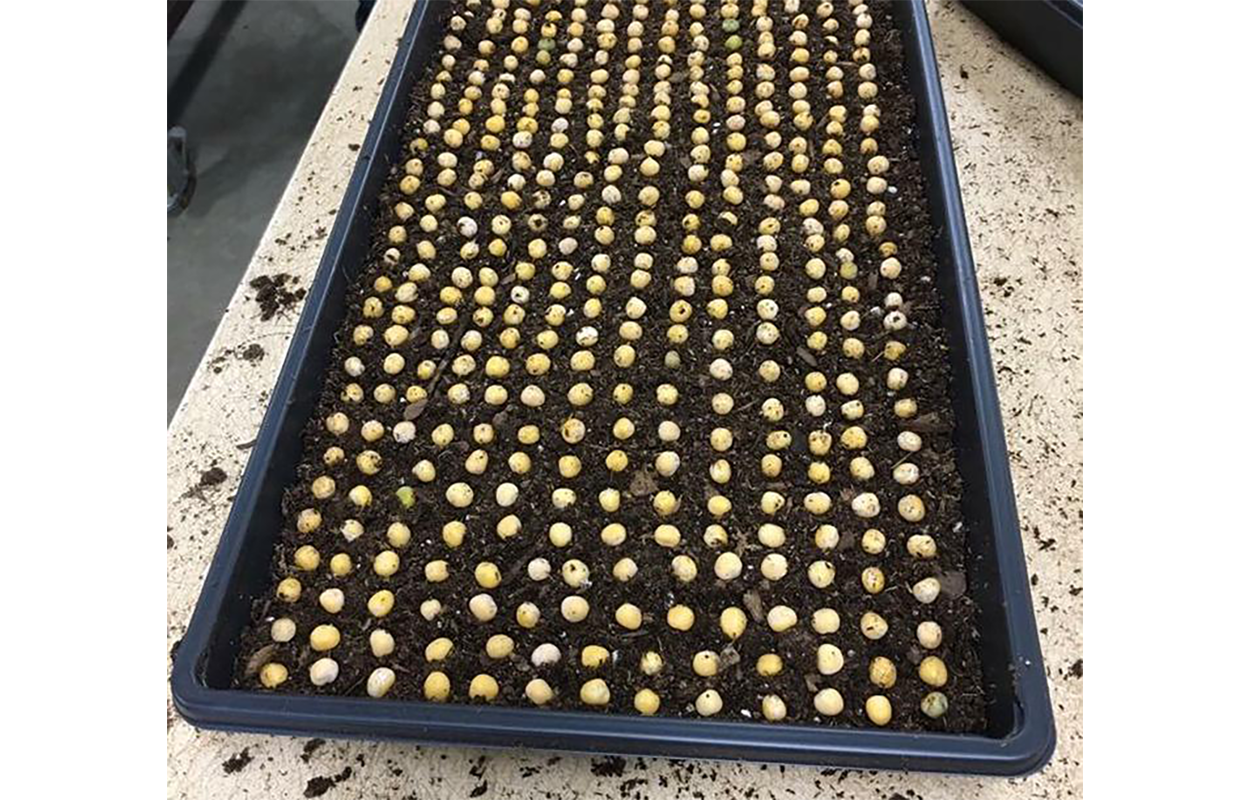
Once the flat is filled, thinly scatter the seeds over the surface of the growing media. For larger seed, like peas, these should be spaced about 1/2 to 1 inch apart. Smaller seed can be spaced more closely together. Generally, you do not need to cover the seed, just press them down into the growing media with the palm of your hand. It is important though to make sure the growing mix is thoroughly saturated with water after planting.
Step 3
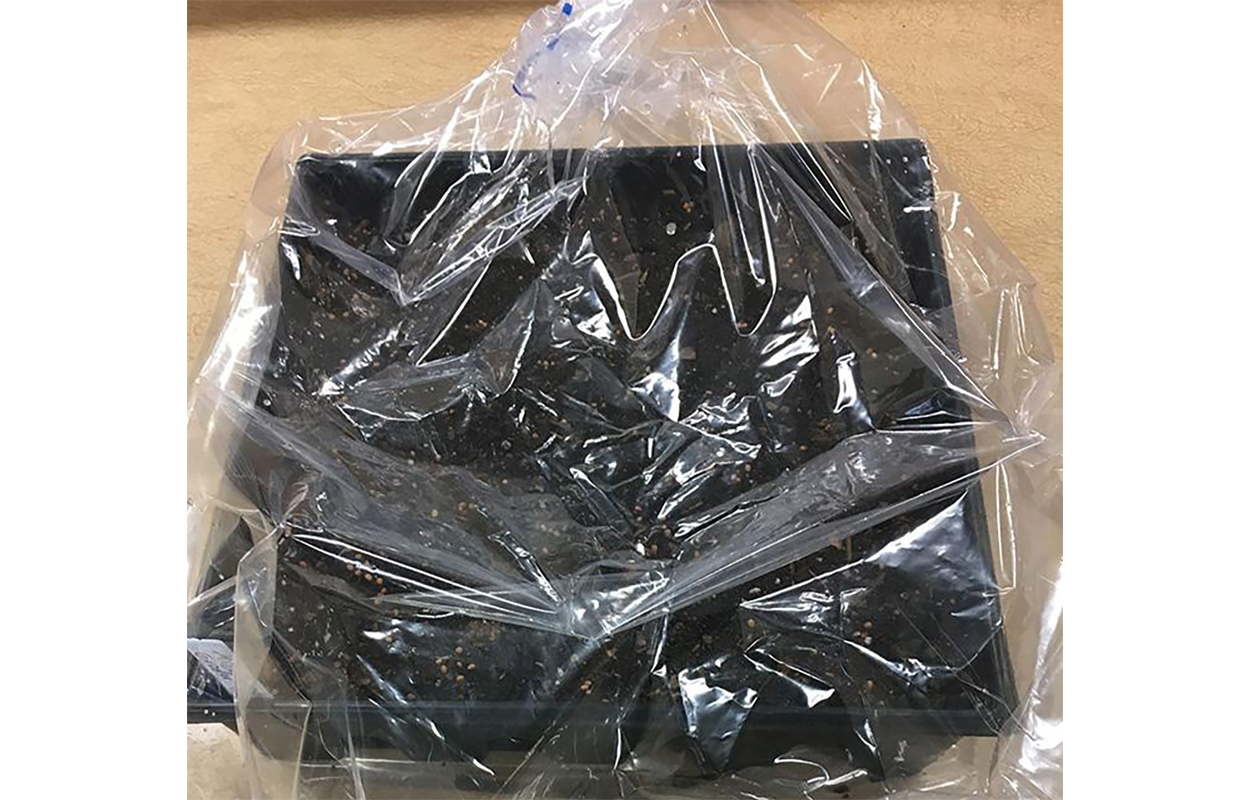
Either use a small watering can with a fine nozzle, or try setting the pot or flat in a larger container of warm water until the medium has soaked up water all the way to the top. These methods will prevent washing the seed away to one side of the tray. Next, put the whole flat or pot into a plastic bag to keep the humidity near 100% to allow for faster germination of the seeds. Once you see that seed is coming up, gradually open the bag and remove it over the course of a couple days. Keep the flat or pot in a full-sun location or under some fluorescent or LED lights to provide plenty of light for the seedlings to grow.
Care and Maintenance
Once the seedlings are up and growing, fertilize them with some half-strength, water-soluble plant fertilizer, such as a fertilizer with a 20-20-20 analysis.
Apply enough solution to saturate the growing medium as evidenced by water dripping out of the bottom of the flat or pot. You can use a small watering can or set the pot or flat in the small tub to soak the potting mix up from the bottom. You just want to be careful to keep the seedlings from being washed out or getting media up on the leaves of the seedlings. It will be difficult to clean it off later when you want to harvest the microgreens.
The next time the potting mix starts to get dry, use plain water. Continue watering and monitoring the seedlings as described above until they develop about three or four true leaves, which indicates they are ready to harvest.
Harvest and Storage
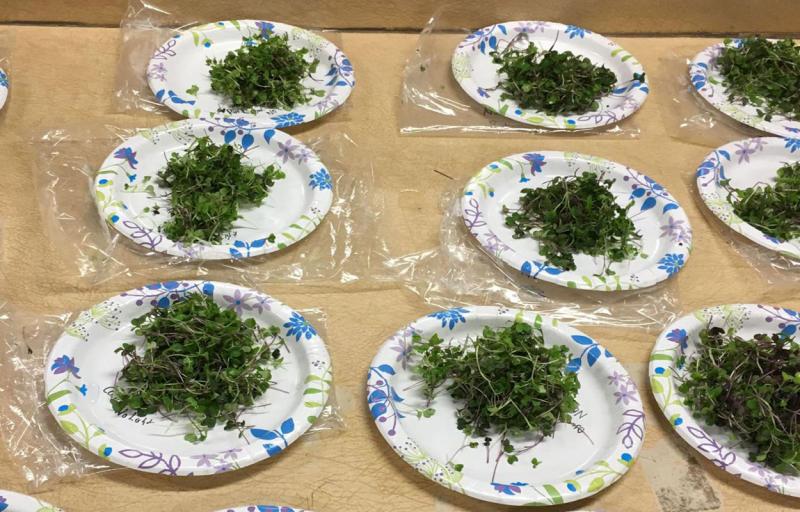
Harvest your microgreens with a clean scissors or a sharp knife, cutting them just above the growing medium. You can rinse them off with cool water by putting them in a strainer or colander and fluffing them up in the stream of water. Shake them to get rid of excess water, gently pat them dry with paper towels, or gently use a salad spinner to remove excess water. They are ready to eat immediately, or they can be stored in a plastic bag or container in the refrigerator for a week or so. They are great served alone with your favorite dressing, mixed with other salad greens, added to sandwiches, or used as a garnish. Be sure to experiment with different mixes of seed, because flavors can vary widely depending on what you plant.
References and Resources
- Lighting for indoor plants and starting seeds, University of Minnesota Extension.
- The Basics of Seed Starting for Flowers and Vegetables, SDSU Extension.
- Food Safety, SDSU Extension.