Written by Cindy Schnabel, South Dakota State University (SDSU) Extension Horticulture Assistant and Master Gardener, in collaboration with Kristine Lang and Rhoda Burrows, former Professor & SDSU Extension Horticulture Specialist.
Have you ever thought about starting your own flowers or vegetables from seeds, but you are not sure where to start? By starting seeds indoors, you will be able to get a jump on the growing season, while saving money on transplants. You can grow the variety of vegetables and flowers that you are most interested in. This article will outline the basics of growing your own transplants.
When to Start Your Seeds
Timing plays a big part in starting seeds indoors. It is a good idea to start seeds four to 12weeks prior to safely transplanting outside. A general guide is to find out the last spring frost date in your area (approximately May 15 in much of South Dakota). This is especially important for warm-season vegetables and flowers that cannot tolerate cool temperatures or light frost. Some vegetables and flowers have more tolerance for cold outdoor temperatures, as indicated in the “Seed Starting” charts in Tables 1 and 2.
Most seed packets list the number of weeks to start seeds indoors ahead of planting outside. Then count back from the last frost date in your area. This is the time to begin those seeds indoors. The most-common mistake is to start the seeds too early. This may result in tall, weak and spindly plants, or rootbound plants, which will not perform well in the garden.
| Recommended Temperatures | Recommended Dates | ||||
|---|---|---|---|---|---|
| Seed Germination (°F) | Growing Transplants (°F) | Number of weeks from seed to transplant | Start Seeds Indoors* | Transplant Outside* | |
| Broccoli | 70-75 | 60 | 4-6 | March 9-23 | April 20 |
| Cabbage | 70-75 | 60 | 4-6 | March 9-23 | April 20 |
| Cauliflower | 70-75 | 60 | 4-6 | March 19-April 2 | April 30 |
| Lettuce | 65-70 | 60 | 4-5 | March 16-23 | April 20 |
| Onion | 60-65 | 55-60 | 8-10 | Feb. 9-23 | April 20 |
| Tomato | 65-75 | 60-65 | 6-8 | April 4-18 | May 30 |
| Pepper | 65-75 | 60-65 | 6-8 | April 4-18 | May 30 |
| Eggplant | 70-75 | 65-70 | 6-8 | April 4-18 | May 30 |
| Squash | 70-75 | 50-70 | 2-3 | May 9-16 | May 30 |
| Muskmelon | 70-75 | 65-70 | 3-5 | May 1-15 | June 5 |
| Watermelon | 70-75 | 65-70 | 3-5 | May 1-15 | June 5 |
| Cucumber | 70-75 | 65-70 | 3-4 | May 2-9 | May 30 |
| Pumpkin | 70-75 | 50-70 | 2-3 | May 9-16 | May 30 |
*A seed starting chart with planting dates using Brown County in Northeast South Dakota as an example.
| Recommended Temperatures | Recommended Dates | ||||
|---|---|---|---|---|---|
| Seed Germination (°F) | Growing Transplants (°F) | Number of weeks from seed to transplant | Start Seeds Indoors* | Transplant Outside* | |
| Begonia | 70 | 65 | 12 | March 1 | May 30 |
| Geranium | 70-75 | 65 | 14-16 | Feb. 15 | May 30 |
| Impatiens | 70 | 65 | 10-12 | March 1 | May 30 |
| Marigold | 70-80 | 65 | 7-8 | April 15 | May 30 |
| Moss Rose | 70 | 65 | 11 | March 8 | May 30 |
| Petunia | 70-80 | 50-55 | 12 | March 1 | May 30 |
| Salvia | 70 | 65 | 11 | March 8 | May 30 |
| Zinnia | 70-65 | 65 | 5-8 | April 15 | May 30 |
*A seed starting chart with planting dates using Brown County in Northeast South Dakota as an example.
Note: Using the number of weeks from seed to transplant, you can adjust your seeding dates based on the temperature data for your location in South Dakota. Most seeds will germinate under a wide range of temperatures, the ideal temperatures listed will ensure the quickest germination for each vegetable or flower listed. Adapted from Jerry Mills, former SDSU Extension Horticulture Educator.
Potting Mixes
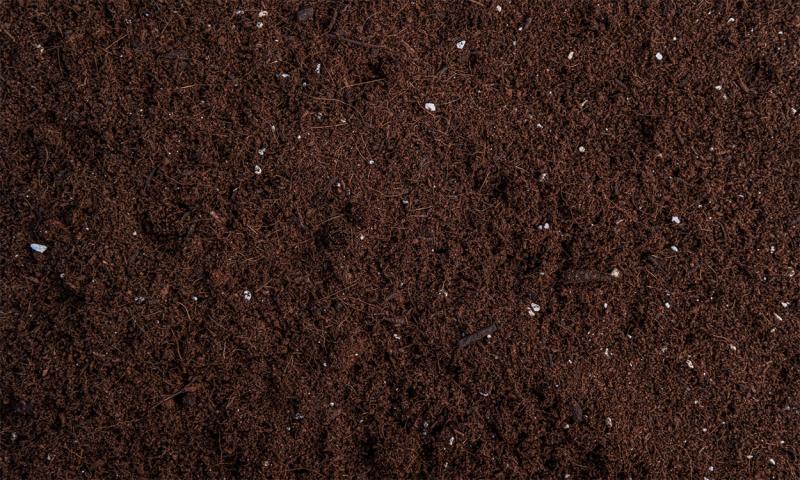
There is a wide range of potting mixes that you can use to start your seeds. The potting media needs to be sterile, as this prevents issues with diseases, weed seeds and some insect pests. The potting mix should be fine, well-aerated, loose and uniform. Soilless mixtures provide good germination. Do not use field or garden soil for your germination mix. Mixtures with peat moss, which are commercially available, have anti-fungal properties, which are advantageous to seedlings. Below is a simple homemade potting mix that uses four components and should be mixed thoroughly prior to filling your trays.
- Four quarts of shredded peat moss.
- Four quarts of fine vermiculite.
- One tablespoon of superphosphate.
- Two tablespoons of ground limestone (necessary to adjust the pH).
Note: When mixing dry potting media, wear a mask to prevent inhalation of fine dust particles. If the potting media is very dry, work in water to moisten it evenly before placing into a seed-starting container.
Containers
There are a wide variety of materials to use as containers. You can purchase trays that have many different numbers of cells where you can plant the seeds. These are usually black plastic that you fill with soil. Biodegradable peat cells are another way to go. You fill these with soil and when you are ready to plant outside, separate the cells and place everything in the ground. If you do not want to purchase containers, then just recycle items like cottage cheese containers, yogurt containers, bottoms of milk cartons or make pots out of newspaper. Wash your recycled containers with soap and water and create drainage holes by punching or drilling holes in the bottom if none exist. Plastic or clay pots can also be used for seed starting.
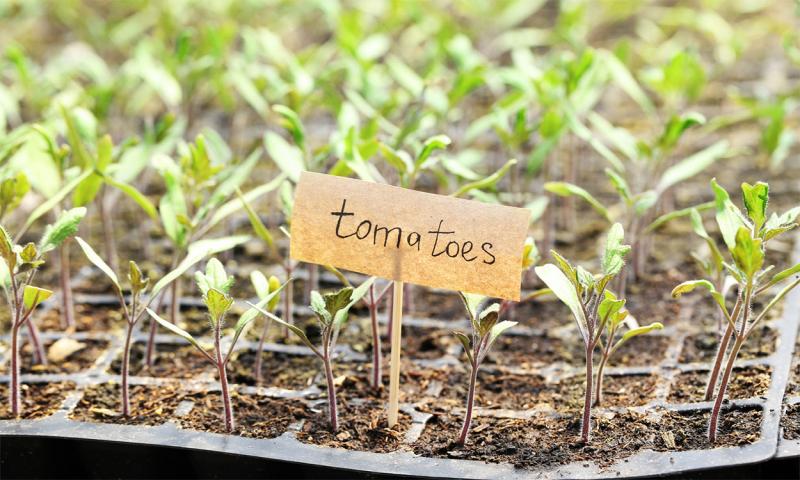
Labels
It is important to label your trays, pots or containers. Without them, you may not remember what you have planted. You can purchase plastic label sticks or use popsicle sticks. With a permanent marker, record the crop variety and date planted. Place the stick in the container. Later when you move them outside, you can use the marker again to locate the plant in your garden or flower bed.
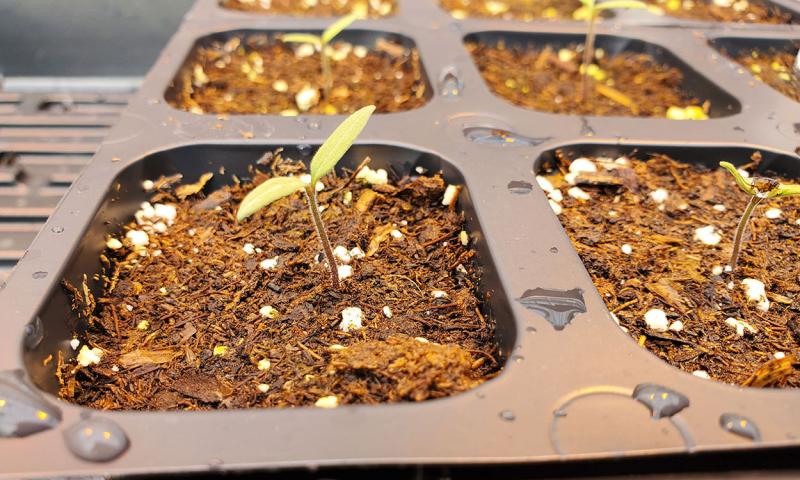
Planting Seeds
When filling seed starting trays and containers, using a pre-moistened potting mix, leave a quarter-inch to a half-inch gap below the top edge of the container or cell. As a rule of thumb, plant most seeds two to three times as deep the diameter of the seed. Seed packets should have a recommended planting depth for the specific flower or vegetable you are planting. Make a small indentation in the middle of the cell or container and drop the seed in and cover it up.
Some plants with very small seeds may only require light coverage with potting media or no coverage at all. With very small seeds, you can plant more than one seed per cell, cutting off the extra ones after they emerge. If you are using an open tray or container, you can also plant your seedlings in rows, making furrows one to two inches apart, sprinkling in seeds and labeling each row.
Note: You may need to transplant seedlings in furrows into larger containers later on, so each plant has enough room to grow.
Water and Humidity
After sowing the seeds, water them gently, so you do not disturb, damage or blast the seeds out of the tray or deeper into the potting mix. If you’ve already added water to your soil prior to planting, one method to gently water newly planted seeds is to mist the soil with a spray bottle. Ensure that enough water has soaked into the potting mix that it is darker in color and feels damp, but not soaking wet. Seeds and seedlings started indoors should only be watered when the potting mix begins to dry out, it will look lighter in color, you can continue using a spray bottle or pour water gently with a small watering can. Overwatering can cause problems, such as root rot or fungal problems.
To maintain sufficient moisture during germination, retain high humidity around newly planted seeds by slipping the whole flat or pot into a clear plastic bag. You can also take plastic wrap and stretch it over the flat or container. The plastic should be one inch from the soil. Some gardeners may cover the container with glass instead of plastic. Place the container out of direct sunlight, otherwise the temperature may get too hot and damage the seeds. Remove the plastic or glass once seedlings begin to appear to avoid damaging the young plants.
Temperature and Light
Different types of seeds germinate best under various temperatures. In the seed starting chart (Table 1 and 2) you’ll see the ideal seed germination temperature ranges listed for popular vegetables and annual flowers. For seeds that germinate best in warmer conditions, heat mats and thermostats can be used specifically for seed starting.
Note: Look specifically for “seed starting” heat mats that are meant to be in damp environments. Do not use a home heating pad.
Once the seeds have germinated, the plants can be moved to a slightly cooler location within your home if you’re in need of more germination space for other seedlings; if you’ve got plenty of room in your seed starting area, you can keep the plants where they are but turn off and remove any heat mats that you no longer need.
Young plants need plenty of bright natural or artificial light. Signs that your plants are not getting enough light can include a pale green to yellow color or long, thin, “spindly” plants that are stretching to receive more light. If you cannot find a bright, sunny area for your plants, you will need to provide artificial light. There are a wide variety of grow lights on the market. For the budget conscious, using two, 40-watt, cool-white, fluorescent bulbs will do the trick. LEDs are also becoming more-affordable and common, so select LEDs that are labeled as “balanced” or “full” spectrum, as the extra red-spectrum lights are specific for growing plants to flower and fruit indoors. As with fluorescent bulbs, generally look for LEDs that are 30 watts or more if no natural light is available. When using fluorescent or LED light sources, hang or support the lights within four to six inches of the top of the plants. As the seedlings grow, raise the lights to avoid damage to your plants. If you are unable to raise your lights, start with them higher than 6 inches, but realize you may need to add additional light fixtures to offset the distance from the light source. Supplemental lights can be plugged into a timer, and ideally the lights should be on for 14 to 16 hours each day.
Ventilation
Having good air flow around your growing seedlings is a great practice that can signal to the plant to grow sturdier stems and aid in preventing disease caused by moist, stagnant soil.
Ventilation can be improved by placing a small fan on low to circulate the air around your plants. This simulated wind also prepares the plants for our windy outdoor conditions in South Dakota.
Moving Seedlings Outdoors
The seedlings are ready to transplant outside when one of two sets of true leaves have formed. For instructions on moving your plants outdoors, see this article on how to harden transplants. Using these tips and recommendations, you will be able to get a jump on the growing season, plant the cultivars you want and be ready to plant when the weather is right. Enjoy growing your own transplants this season.
Additional Resources
For more information on growing vegetables and flowers in South Dakota, please explore these SDSU Extension resources:
Special thanks to SDSU Extension Master Gardener Tim Schreiner for serving as volunteer copyeditor of this article.