Written by Cindy Schnabel, South Dakota State University (SDSU) Extension Horticulture Assistant and Master Gardener, under the direction and review of Kristine Lang, SDSU Assistant Professor and Consumer Horticulture Extension Specialist.
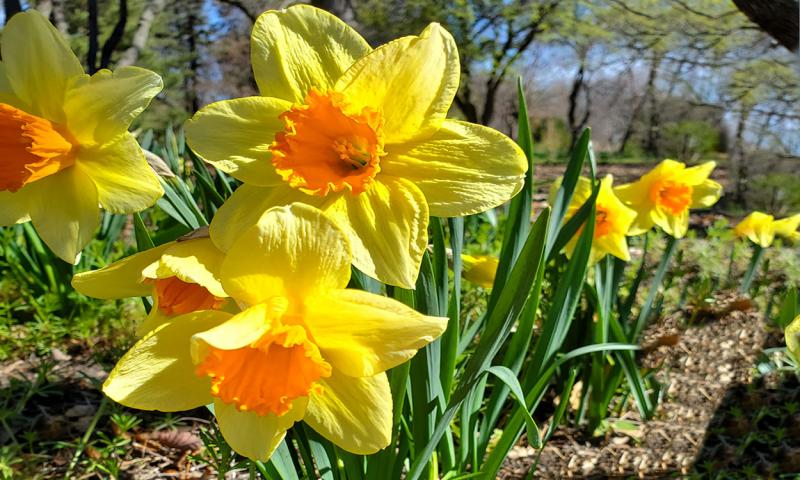
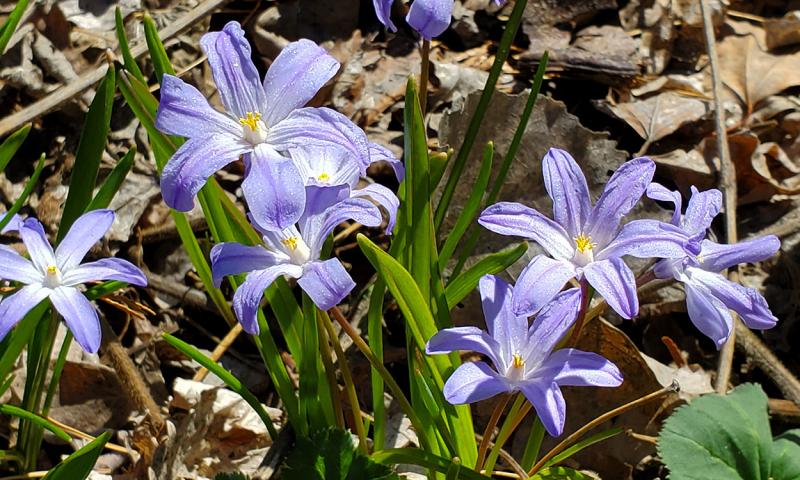
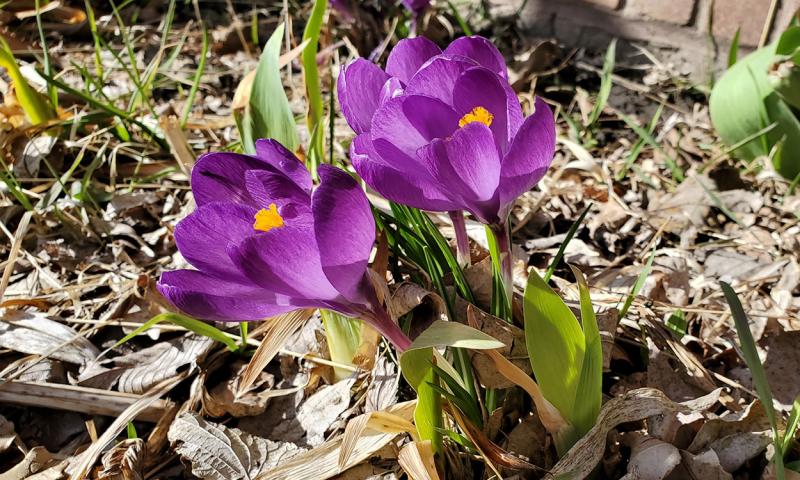
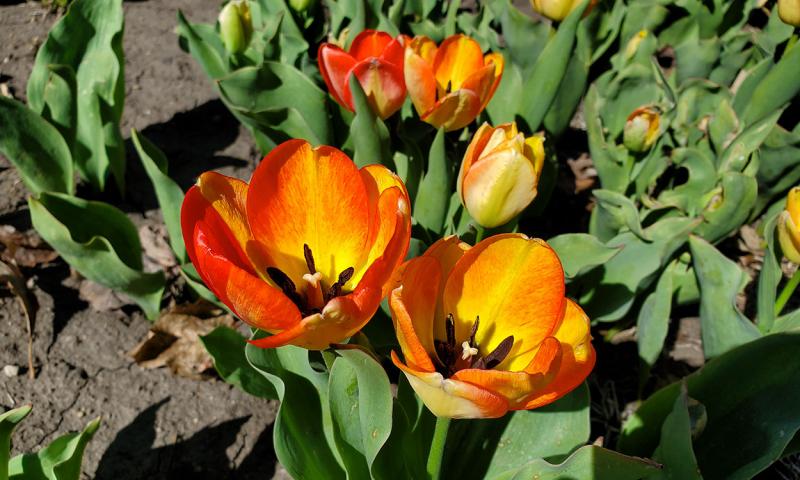
Don’t put away your gardening tools quite yet. Fall is the perfect time to plant hardy, spring-flowering bulbs. From large flowers, like tulips and hyacinths, to crocuses and snowdrops, all these early-spring bloomers can be planted in September and October.
First, find the location where you want that gorgeous spring flower bed. Early-spring bulbs require full sun. The more sunlight that the plant receives, the better chance you have of that bulb coming back year after year. Remember to take into consideration that most trees and shrubs should not have leafed out as early as the bulbs begin to grow. You can successfully plant under trees and shrubs for that exact reason.
When purchasing bulbs to plant, the adage, “you get what you pay for” is true. The bulb’s appearance and weight go a long way in telling its general health. Choose a firm bulb that has the papery skin still on it. A soft, squishy-feeling bulb usually indicates rot or tissue break down. The ideal bulbs should be plump, firm and heavy for their size. Those that are lightweight and shrivel have lost too much moisture to perform well.
Bulb performance will depend on the care the plant received in the previous season. Your initial success depends on the grower or vendor where you purchase the bulb. For the best-preforming bulb, during the first year, size does matter. For example, the largest tulip or hyacinth bulbs will produce the largest flowers on thicker, taller stems.
Soil preparation is the best way to give bulbs a head start. They grow best in rich, well-drained soil. Begin working the soil by removing debris, such as rocks, sticks, matted roots etc. Then, loosen the dirt to a depth of approximately twelve inches. Break up any large clumps of dirt. Add organic matter to the soil and incorporate a 5-10-5 or 10-10-10 fertilizer into the soil. Mix all of this together before beginning to plant.
Planting time is generally mid-September through mid-October. A good rule of thumb to know when to begin is if the nighttime temperatures stay in that 40 to 50-degrees Fahrenheit range. It is best to have the bulbs in the ground four to six weeks before the ground freezes. The sooner you get those bulbs into the ground the better. This allows enough time for the roots to become established.
Plant the bulb two to three times as deep as the bulb diameter (width). Large bulbs, like tulips, will be planted around six to eight inches deep. Smaller bulbs will only need to be three to four inches deep. This depth should be measured from the shoulder of the bulb to the surface level of the soil. The space left in between the bulbs depends on size, too. Larger bulbs should be spaced three to six inches apart, whereas smaller ones can be one to two inches apart. If you like lots of spring color, consider planting in masses. Instead of one or two bulbs here or there, plant a larger number, such as five, seven or more bulbs in the same general location. This will give you an abundance of color in a designated area.
After digging the hole, place the bulb pointed end up. Make sure that the roots are in contact with the soil. Proceed to cover the bulb halfway with soil. Pack the soil around the bulb and in the hole. You do not want any pockets of air. Thoroughly soak the area with water. Fill in soil the rest of the way and rake the surface smooth. Watering will help settle the soil in and around the bulb, plus it wll give it the moisture it needs to start rooting.
To help the bulbs survive the winter, cover the soil with two to three inches of mulch. Leaves, clean straw, grass and wood mulch will hold the moisture in and help with the soil temperatures.
Animals love to dig up bulbs and eat them after they have been planted. An effective way to deter this is to place some chicken wire over the area that you have planted the bulbs. Anchor the wire with staples that you use to hold landscape fabric. Then cover the area with your mulch.
Last, label the area that you have just planted. That way when spring comes around you will not dig up the area when you are trying to plant annuals in the spring. You have finished planting your spring bulb flower bed. All that is left to do is sit back, relax and wait for spring to come and admire those beautiful bright colors.
Additional Resources
- Early Spring Bloomers, SDSU Extension.
- Tulips Bring Early-Season Color to the Garden Each Year, SDSU Extension.
- Planting Depth and Spacing of Spring-Flowering Bulbs, Iowa State University Extension.
Special thanks to SDSU Extension Master Gardeners Tim Schreiner and Stacy Dreis for serving as volunteer copyeditors of this article.