Written collaboratively by Adam Varenhorst, Stephen Robertson, Patrick Wagner, Amanda Bachmann, Eric Jones, Madalyn Shires, and Philip Rozeboom.
When working with pesticides, always follow label instructions and wear the appropriate personal protective equipment (PPE). Many types of PPE are intended for single use only and should be discarded after use. But how do you wash reusable PPE and clothing contaminated with pesticide residue? Fortunately, the pesticide label provides information on how to, if possible, properly handle and launder contaminated clothing and PPE.
PPE (reusable or not) and clothing that is heavily contaminated with pesticide product should be properly discarded. Laundering these items would not sufficiently remove the pesticide residues and would contaminate your washing machine.
Removing, Storing, and Laundering
Below are the steps for removing, storing, and laundering reusable PPE and clothing contaminated with pesticide residue:
Step 1: Check the pesticide label to ensure that contaminated clothing can be laundered.
Step 2: Wear chemical resistant gloves whenever handling contaminated clothing, such as removing, storing, and laundering contaminated PPE.
Step 3: Shake, brush, or dust off clothing outdoors to remove residues from dry products. You should pay special attention to cuffs, hems, and pockets as these areas can collect residues.
Step 4: Remove clothing outside of the home in a designated changing area that can easily be decontaminated.
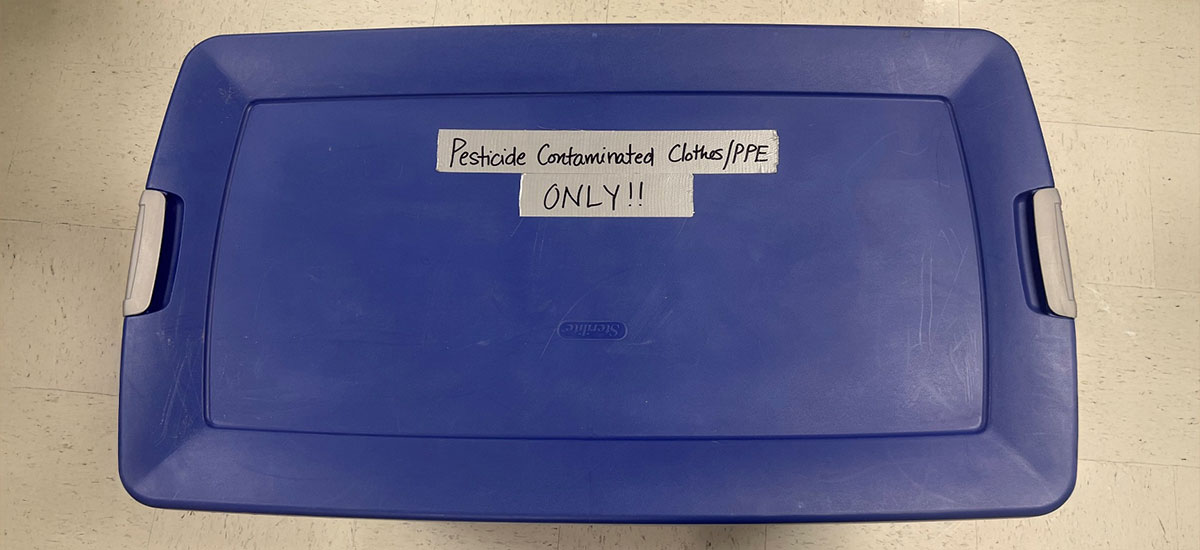
Step 5: Store contaminated clothing in a plastic storage bin with a sealable lid that is clearly marked that it contains clothing with pesticide residues (Figure 1).
Step 6: Launder contaminated clothing as soon as possible. The efficiency of removing the residues decreases after 24 hours. If you need to store the clothes before washing them, place the container holding the clothes in a facility outside of the home.
Step 7: Wash contaminated clothing separately (in a washer designated for pesticide-contaminated clothing, if possible) and never with non-contaminated clothing. See Table 1 below for washing machine setting recommendations.
Step 8: Dry clothes outside, if possible. Research shows contaminated clothes dried outside retain less residual pesticide. We do not recommend using a dryer unless it is used ONLY for washed PPE. Even freshly washed PPE can lead to a contaminated dryer.

Washing Machine Settings
The following steps outline the recommended washing machine settings for contaminated clothes.
Step 1: Read the product label to evaluate for washing/detergent recommendations
Step 2: Load the washing machine but limit to 50-75% capacity to ensure the best agitation of the clothes and dilution of the residues.
Step 3: Use the maximum amount of detergent that is recommended for your machine.
Step 4: If available, choose the heavy-duty setting (Figure 2)

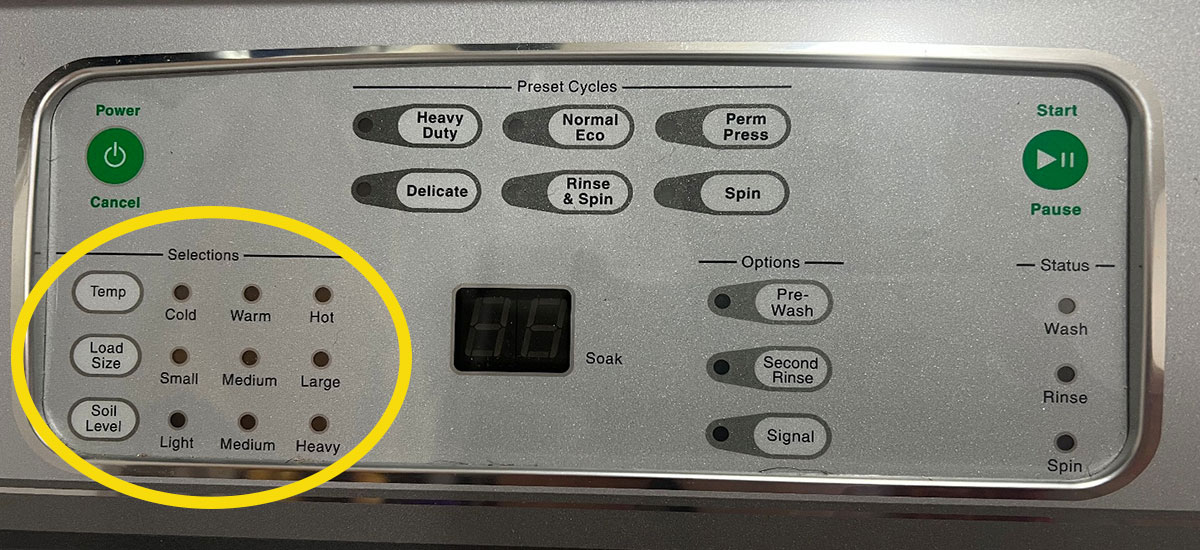
Step 5: Use the hottest water setting, the largest load setting, and the heaviest soil level on the machine (Figure 3)
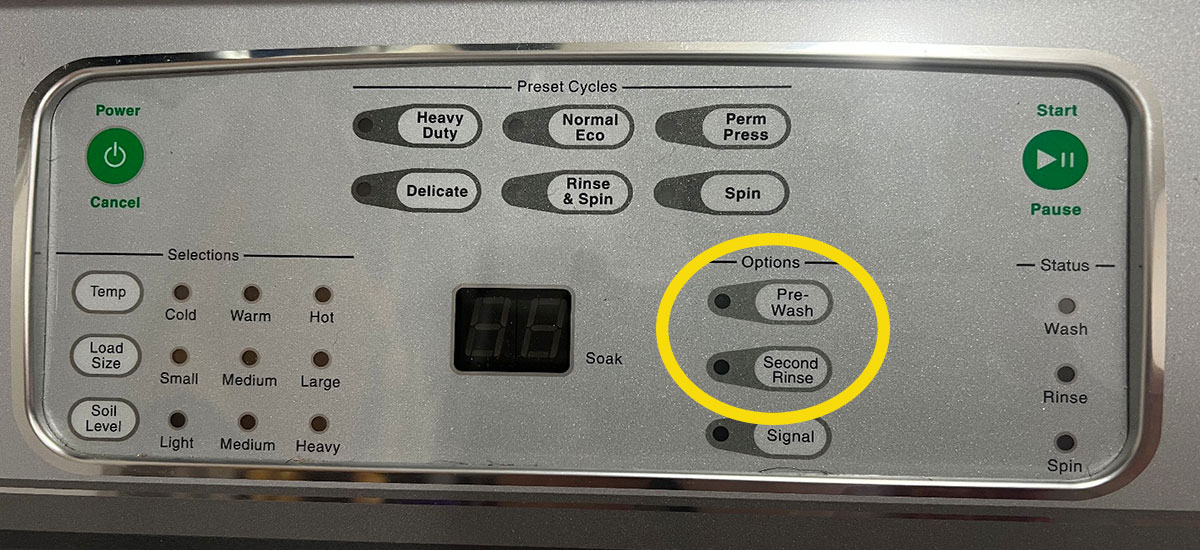
Step 6: Select the pre-rinse/soak setting and second rinse options before initiating the wash cycle (Figure 4).
Step 7: When the washing cycle is complete, run the spin cycle to remove as much water as possible (Figure 5).

Step 8: Remove the clothes and line dry
Step 9: Run the washing machine empty with detergent using the heavy-duty option with the hottest water and largest load size to rinse any remaining residues from the washing machine.
Step 10: Decontaminate the clothes storage bin using hot, soapy water and rinse outdoors.
For additional information, see NDSU Extension’s Laundering Pesticide-contaminated Work Clothes publication.


