Written by Cindy Schnabel, South Dakota State University (SDSU) Extension Horticulture Assistant and Master Gardener, and Kristine Lang, SDSU Assistant Professor and Consumer Horticulture Extension Specialist.
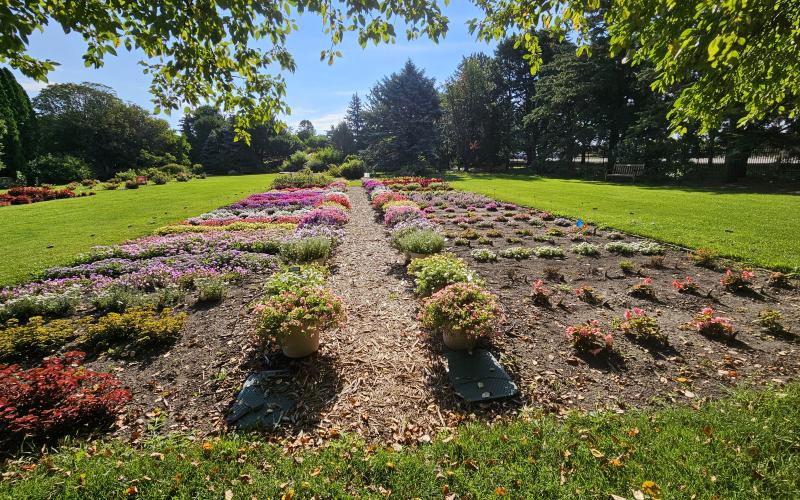
Hostas are the most widely sought-after shade perennial. Their unique foliage and minimal maintenance needs make them the perfect plant to use in your landscape. Originating in Asia and later brought to Europe in the 1700s, hostas today are available in over 6,000 cultivars. They vary in texture, size, shape and color. This variety means there is a hosta that will shine in almost any landscape.
Size, Leaves and Flowers
Mature hostas come in a variety of sizes. They are categorized by mature plant height in four groups:
- Miniature: Less than 10 inches
- Small: 10 to 15 inches
- Medium: 15 to 22 inches
- Large: Over 22 inches
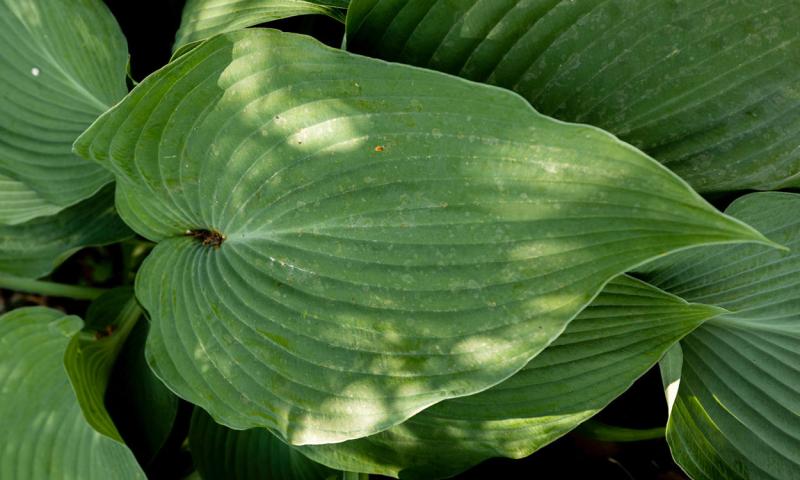
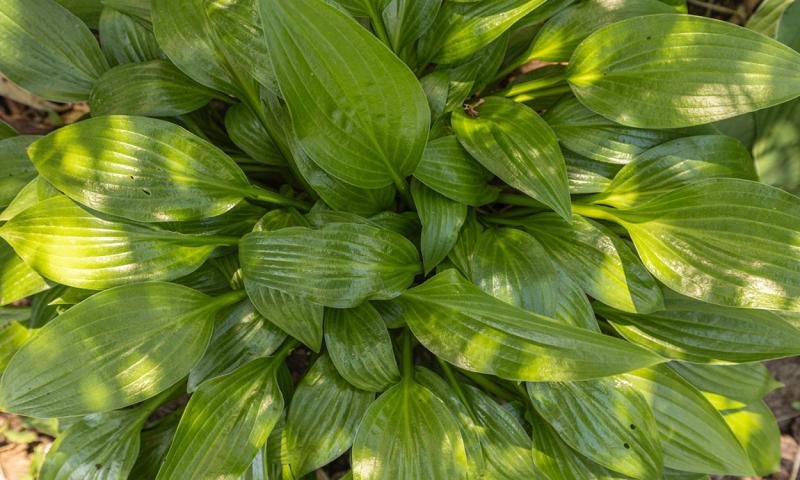
Hosta leaf shape and texture is just as unique. Some are long, smooth and sword-like, some are heart-shaped, and others are huge and round with a rippled texture. Hosta leaves grow in a range of colors, including: white, pale yellow, gold, lime green and very deep blue-green. The leaves can also be variegated with multiple shades of white, yellow and green appearing on the same leaf.
While hostas are popular for their leaves, they also have ornamental flowers. The flower stalk is called a raceme, which supports bell-shaped flowers. Blossom colors are white, lavender or blue. Some hosta blooms are fragrant, and they attract pollinators, such as hummingbirds and bees.
Planting and Dividing Hostas
Hostas are usually planted from potted transplants or bare root divisions. Spring is the best time to plant hostas, but with care, they can be planted throughout the growing season. Hostas thrive in rich, organic soil that is slightly acidic. When planning hosta placement in the garden, pay attention to the mature plant width to avoid overcrowding. Follow these steps for planting hostas from potted transplants or bare root divisions.
Potted Transplants
- Begin by digging a hole approximately 12 inches deep and one and a half times the size of the potted transplant.
- Carefully remove it from the container. If it is root bound, gently untangle and shake the roots out.
- Place the plant in the hole with the root ball level with the soil.
- Fill in around the root ball carefully and firmly pack the soil.
- Water thoroughly and frequently until established.
Bare Root Divisions
- Bare-root hosta divisions do best if planted directly in the ground in spring or early summer before weather gets extremely hot.
- Dig a hole one to two inches deep to match the size of the root mass and depth.
- The crown of the plant, which is where all the roots come together and growth comes out, should be at the surface level or slightly above.
- Fill and firmly pack the soil around the plant.
- Water well until established.
Division
Hostas are perennials that do not need to be divided very often. They are content to simply grow in one place without interference. Division can be done to create a better manicured bed or simply wanting to have more beautiful hostas. In the fall or early spring, use a sharp shovel or spade to either slice a clump off the original plant or completely dig the mature plant up. Use your hands, a trowel or a shovel to split the root ball into segments. Each section should have a few leaves attached. Plant these new divisions in a desired location following the steps outlined above.
Growing Hostas
Light
Widely known as shade-loving plants that tolerate four hours of sun a day or less, many hostas can tolerate filtered light (under trees) or morning sun. In general, the lighter the hosta foliage, the more sunlight it may need. Variegated varieties benefit from more sunlight to keep their white and gold stripes. Hostas with dark-blue foliage keep color best in moderate to deep shade. Ultimately, all hostas need some shading, as very few, if any, will do well in strong, direct light all day. Each cultivar has its own requirement for light, so check the specific light and growing requirements for the hosta you purchase.
Water
Hostas need moist, but not wet, soil. One inch of water per week is best for them. Once the plant is established, it will be able to tolerate occasionally dry soil. They will not survive extended periods of drought, and if plants remain dry for too long, you may notice browning along the outside edges of the leaves. Deeper, infrequent watering is better than frequent shallow watering.
Fertilizer
The easiest way to fertilize established hostas is to add a healthy layer of compost to the soil in spring. Alternatively, use a balanced organic fertilizer, after planting or when they first peek out of the ground in the spring. Be careful if using a granular fertilizer. Do not get the granules trapped in the leaves, because it could cause fertilizer burn, which appears as brown, wilted leaf spots.
Problems and Solutions
- Slugs and Snails: Slugs and snails are a major nuisance to hostas. They will chew holes in the foliage and, if left untreated, can kill the plant. A light scattering of sand, diatomaceous earth or other abrasive material around the plant can slow down slug movement and damage. There are a variety of baits that will trap or kill slugs and snails; always follow label instructions when using garden chemicals to control pests.
- Deer: Hungry deer will eat anything or may also enjoy hostas as a delicious treat. Using repellents that are labeled for garden use can help deter the deer. Fencing may be an option, but it will need to be quite tall to keep deer from your plants.
- Disease: If the leaves begin to yellow without becoming dry and brittle, it could be a sign of a disease, such as crown rot. This occurs when hostas receive too much water or rainfall. If the plant is badly affected, it will need to be removed and destroyed, so the disease does not spread.
- Hail: Hail can shred the leaves of hostas. If hail damage happens early in the season, remove the damaged leaves, water the plants with a weak solution of fertilizer, and wait for new growth to appear. Later in the growing season, remove damaged growth, but skip fertilizer. You may need to wait for new growth to emerge the following spring.
- Heat/Scorching: When there is a heatwave or drought in your area, browning can begin on the leaves. This is called scorching. Damage to hosta leaves can be due to sudden sun exposure, such as when tree branches break off and more light reaches the hostas. Scorch can also be observed on plants that are growing in the shade, but are exposed to long periods of dry soils under hot conditions. If hosta leaves are damaged by scorch, trim away the leaves that are badly damaged. Prevent scorch, especially during drought conditions, by making sure your hostas are well-watered and shaded.
Hostas, known for their foliage and love of shade, have developed into a coveted landscaping staple. There is a hosta for almost any need in a shade garden. If you have a low-light area, try a hosta, and you will not be disappointed!
References and Resources
- Armitage, A. 2020. Herbaceous Perennial Plants: A Treatise on their Identification, Culture, and Garden Attributes. (4th Ed.) Stipes Publishing. Champaign, IL, USA.
- Hayes, R. F., D. C. Zlesak, and K. Moncada. 2018. Hostas.
Special thanks to SDSU Extension Master Gardeners Tim Schreiner and Stacy Dreis for serving as volunteer copyeditors of this article.