Written collaboratively by Xufei Yang and Gary A. Anderson.
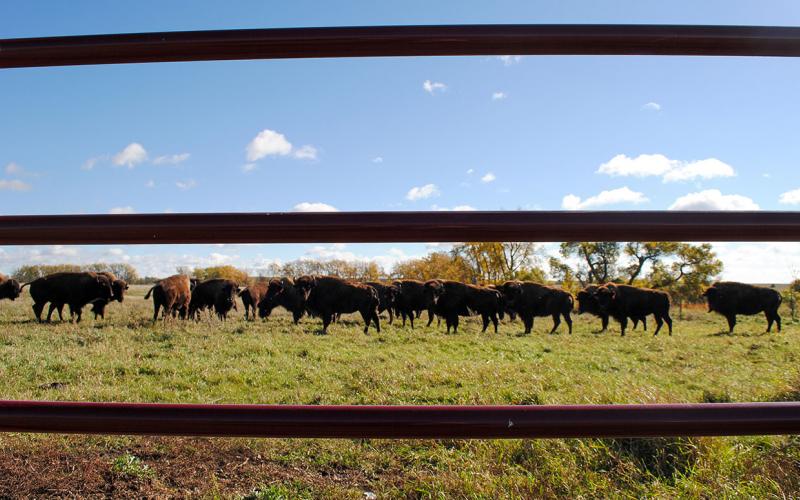
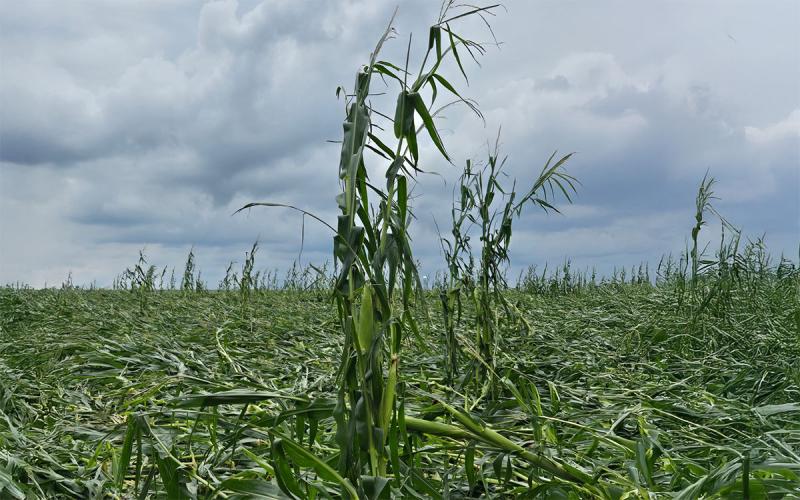
The May 12 derecho devastated eastern South Dakota, causing significant damage to agricultural structures, including post-frame buildings also known as pole barns. In this article, we intend to compile the information about pole barn wind damage and share some useful links with producers.
Wind Load and Preventive Measures for Wind Damage
When properly designed and constructed, a pole barn can withstand high winds pretty well. In eastern South Dakota, the basic wind speed (peak gust) for pole barn wind load design is 90 or 105 mph; the latter applies to the utmost southeastern part of South Dakota. Additional factors affecting the wind load, and, accordingly, the risk, include surrounding landscape, topography, barn height, barn shape and gaps and leaks in the building shell. However, this does not mean that a barn will necessarily stay safe with a wind gust <90 mph, because, again, many factors can affect the actual wind load – including overturning load (causing a barn to tilt), uplift load (causing a barn to lift), and lateral load (causing a barn to displace horizontally) – and the amount of damage is also related to wind duration. A pole barn can be designed to withstand higher winds than the basic wind speed (peak gust) specified by the building code, but this would raise the construction cost, and many producers decide not to do it.
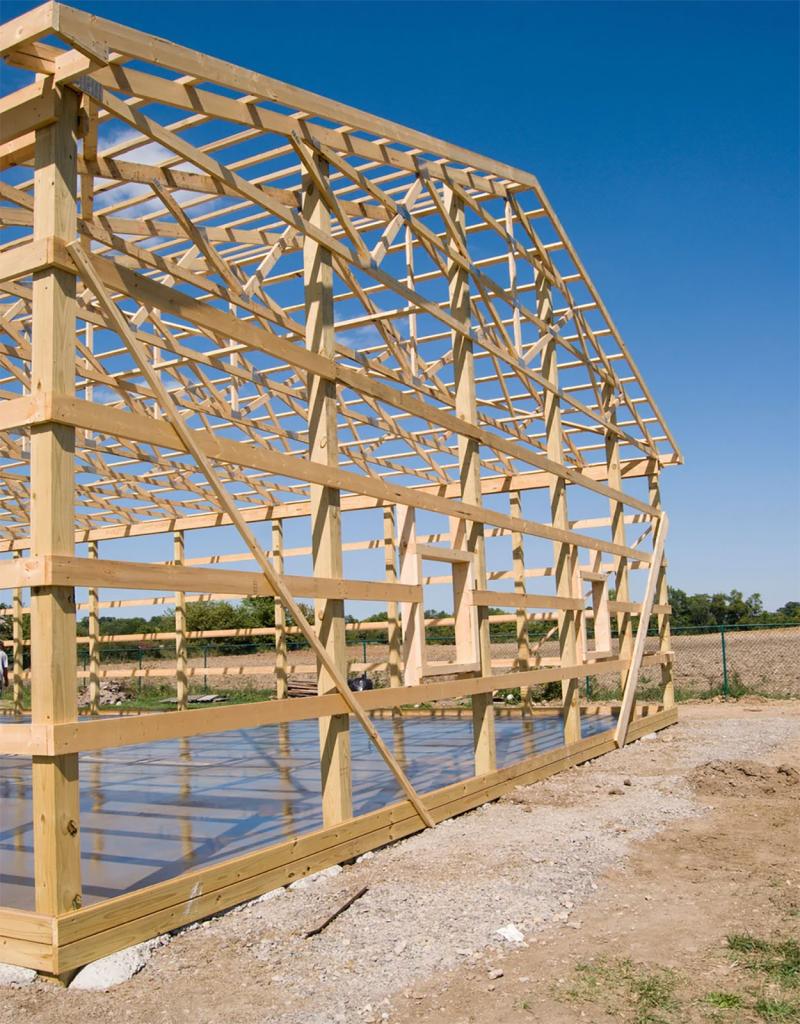
New Barns
It is worth reviewing the measures that builders take to make a barn wind-resistant:
- Enough hole depth for columns (posts or poles) and anchors (footings attached to the post). A hole should be at least 4-feet deep. This protects your barn from “lifting” (by uplift wind load).
- Small enough spacing between columns and girts. A simple fact – the more lumber you use, the more wind-protected your barn will be.
- Use bolts instead of nails or screws to connect trusses to the columns.
- Use support bracing or wind bracing to stabilize (prevent from moving out of plane) trusses, walls, columns, and diaphragms to transfer the wind load from the wind-facing side to the rest of the barn structure.
- Use screws instead of nails to fasten metal or other sheathing/sheeting.
Existing Barns
For an existing barn, there are several preventive measures you may take before a windstorm comes:
- Reinforce the external walls. You may brace the outside walls of a barn with lumbers (e.g. 2’ x 6’ boards). Install them along the base of the walls and fasten them securely to vertical posts.
- Reinforce truss-to-column connections with hurricane clips or similar connectors.
- (Easy but important) Close all doors and windows and latch them securely to prevent the pressurization of the building internal space by winds. The positive pressure inside a barn can create an enormous uplift wind load.
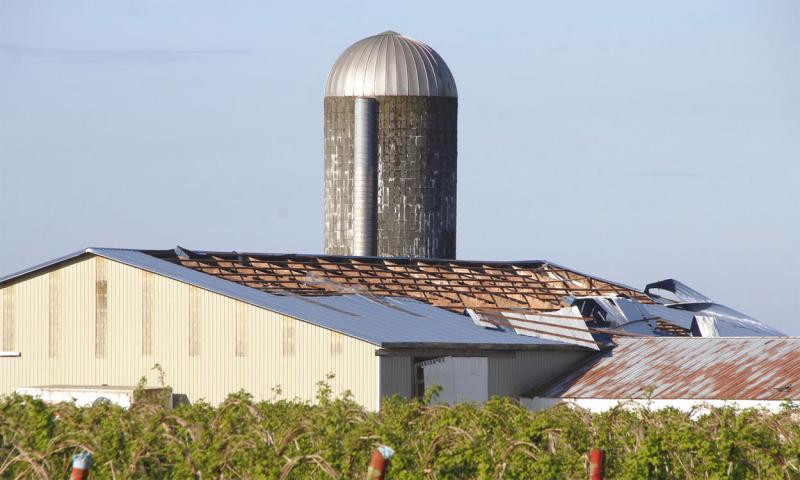
Barn Inspection After a Windstorm
Keep in mind that every barn can be different. The people who build or use a barn know it better than anyone else, so call your barn builder and explain the situation you see or suspect, and schedule an assessment if necessary. Be sure you also contact your insurance agent to file an insurance claim. For an initial do-it-yourself (DIY) type of inspection, the following steps can be followed to assess the structural integrity of your barn.
Steps for Inspection
Step 1
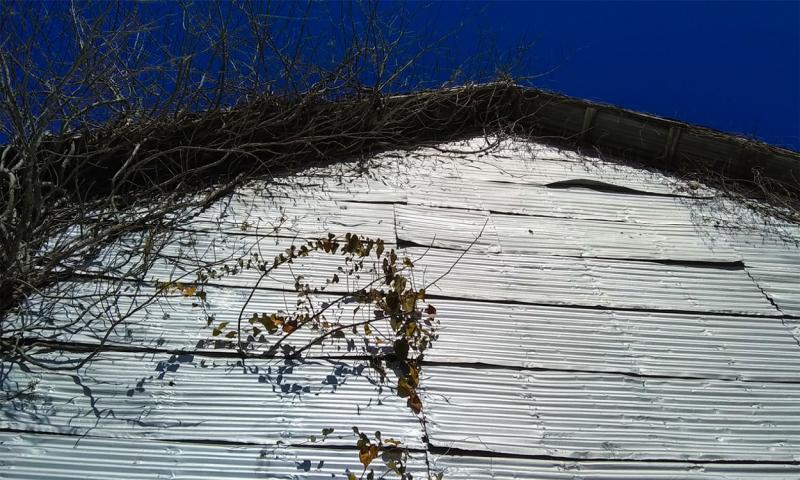
From a distance, look to see if the eaves, ridge and end walls look straight. Also note if there is any damaged (bent, twisted or partially pulled off) or missing metal sheets on the walls and roof. You should look for doors and windows that are in disrepair or missing.
Step 2
Approach the building and, from the outside, walk around the building, looking at:
- Foundation: The posts should not be pulled up partially out of the ground. There should not be a gap between the skirt board and the ground. If a post has been partially pulled up, you may notice that the post color is different. Soil can cause the post to change color within an inch or two of the ground line. The post should not appear to be pushed into the ground either. If the skirt board is pulled away from the post and the fasteners are bent down, the post may have failed in bearing (weak soil under post).
- Walls: Check to see that the fasteners holding the sheeting on are tight and there is no sign indicating that the fastener has been worked back-and-forth, notching the sheet around the fastener. Paint abrasion around the fastener head and neoprene washer damage are factors that can indicate slotting of the metal sheet. You should also check to see if there is any indication, like sheeting pushed out towards the top of the wall, which may be caused by knee braces (if used) failing. Another item to check is to operate doors and windows. If the building is racked, the doors and windows may not operate or do not fit squarely in the frame.
- Roof: Place scaffolding or another device along the sidewall so that you can get high enough to inspect the roof without getting on it. Look for fasteners being pulled up or missing and metal slotting around the screws. Holes in the sheeting can mean that the fastener head pulled through the metal.
Step 3
If you did not see any significant damage on the outside of the building, open a door and look inside the building.
- Do the truss top and bottom chords and webs appear to be straight and aligned with each other?
- Are the braces for the top and bottom chords intact?
- Have any truss plates failed in tension, compression and/or shear?
- Are the posts straight and not broken?
- Is the wall bracing in place?
- If a ceiling is present, is the ceiling level/flat with no indication of fastener or sheet failure?
Step 4
If there are no structural shortcomings noted, enter the building and inspect:
- All bolt joints for crushing of wood around the bolt or wood splitting parallel to the wood grain. These connections attach the truss to the post and the post to the foundation through metal brackets (concrete footings are used or the post sits on a wall).
- Are girts damaged due to bending? Wind pulling away from the wall will cause failure on the girt face next to the sheeting, while wind pushing into the building will cause failure of the face facing the interior of the building.
- Do cracks appear on the post faces towards the interior of the building or the face towards the sheeting?
- Check to see that truss plate teeth are fully embedded in the wood, have not buckled from compression, or have teeth holes no longer aligned due to the plate being deformed by shear.
- Inspect headers over large doors to ensure that bending failures due to wind load on the door have not damaged the header or connections to the framing.
- Upon completing the inside of building inspection, go back outside and inspect the roof from the roof surface. Look for problems from Step 2 and be sure not to step on the ribs of the sheet. Try to step on the flat part of the sheet over purlins or truss top chords in direct contact with the sheet.
"Proper inspection and repair of a building is much less expensive than loosing what is protected by the building."
Additional Inspection Considerations
There still could be indications of structural problems not as noticeable:
- Water leaks can discolor the wood and could indicate fastener problems or sheet damage. Be sure to track the water back to where it enters the building.
- Wood of two members in contact with each other can be a different color than the rest of the board. Different-colored wood around attached members can indicate that the members have slipped (moved) relative to each other and should be investigated further.
- Fasteners that are leaning in the wood should be looked at carefully. The fasteners could have been loaded beyond design.
- Dents in the steel not due to hail (rib bent inward) or gravity loads (snow) could be due to buckling from diaphragm action (top of rib in tension) and/or uplift (pulling away from supports. Small dents can lead to reduced diaphragm capacity.
- Wet wood is weaker than dry wood. Truss plate, nail and screw strength is less when the wood is wet.
Why do we need to inspect?
- Ensure the safety of people working in the building currently and maintain safe working conditions from future weather events by maintaining the design strength of the building.
- Maintain the building in a serviceable condition, so that it can perform its function.
- Make the building lasts as long as intended. Rust, wet wood, poor connections or unrepaired damage can reduce the life of the building.
- Maintain a record to show that you are inspecting and servicing/repairing the building as needed when you do have to file an insurance claim.
Reporting and Repairing Damage
If you find any notable damage or other problems:
- Document with pictures of all possible damage from more than one angle. Take legible and complete notes. You could be called upon to discuss the damage many days later than the inspection day. Poor notes can lead to poor recall of observations.
- Contact your insurance company.
- Have a builder and/or engineer inspect and recommend repairs. Don’t make any repair by yourself before you know the structural problems and their solutions.
- It is NOT the best practice to just redrive fasteners that are partially pulled out of the wood. Fasteners that are partially withdrawn, crushed into the wood, and/or bent have damaged the wood around the fastener. Redriving the fastener does not repair the wood. The fastener will not have its original capacity, leaving the building compromised. Seek out engineering advice. Increasing fastener length and/or diameter can regain strength. It is possible to remove the fastener and replace one member, allowing for new fastener locations in undamaged wood.
In Summary
In a pole barn, every piece used serves a purpose and many components serve more than one purpose. For example, the light gage metal sheeting in the roof keeps the weather from impacting what is stored in the building, resisting uplift and gravity loads, but also is part of the building diaphragm system that resists lateral wind loads. The lateral loads applied to a building with a diaphragm system are, in part, transferred by the post to the foundation (ground) or in part to the roof acting as a diaphragm. The roof then transfers the load to the end walls, which transfers the load to the foundation. Pole barns are economical buildings competing in a competitive market. A $50,000 barn can store a $500,000 combine. Proper inspection and repair of a building is much less capital expensive than loosing what is protected by the building.
Additional Resources
For more information, view some of these useful resources:
- Reducing storm damage to your barn. University of Connecticut Extension. Note: It talks about multiple support bracing methods to reinforce the pole barn structure.
- What is pole barn wind load & why is it important?. FBi Buildings. Note: Basics about pole barn wind load as well as design considerations.
- Wind safety of the building envelop. Whole Building Design Guide. Note: It introduces wind load and safety considerations for office buildings. It is slightly technical but clarifies several key concepts in detail.
- Pole barn structure integrity: Top 5 building components. FBi Buildings. Note: It applies to various structural loads, not just wind load.
- My pole barn is damaged. What should I do?. FBi Buildings.
- Limit wind damage with a post frame building. Pacemaker Buildings.
- How to design your pole barn to stand up to wind. Complete Homeowner’s Assistance LLC.
- What’s the importance of pole barn wind bracing?. Note: It introduces the use of wind bracing in a pole barn.