Written by Rhoda Burrows, former Professor & SDSU Extension Horticulture Specialist.
Carrots
Harvesting
Carrots can be harvested any time that they are big enough to eat. When they have reached full-size, the tip will often be a bit blunt.
Storing
Store carrots in the refrigerator, but don’t store carrots near apples; they will gain a bitter taste from the exposure to ethylene (At the least, store them in separate crisper drawers).
Late-season carrots can be left in ground with straw mulch/bale over the ground to keep it from freezing, and dug as needed. If you are fortunate enough to have a root cellar, carrots can be layered in slightly moist sand, placed so that they are not touching each other, and covered with more sand.
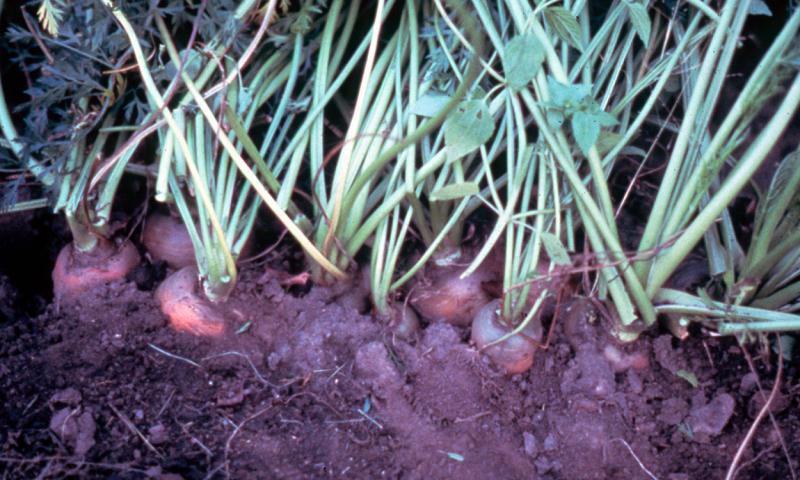
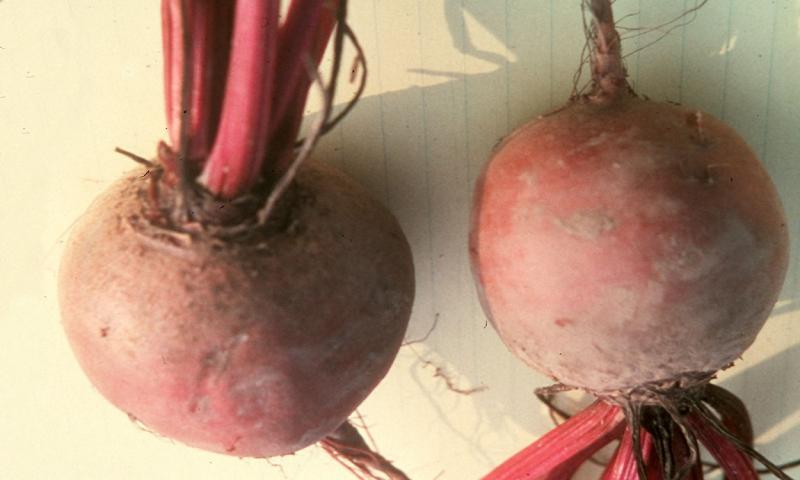
Beets and Turnips
Harvesting
Beet greens can be harvested as soon as they are large enough, but if a gardener wants to harvest roots also, only one or two leaves should be taken from each plant. Mature roots are generally ready to harvest six to eight weeks after planting, when they have reached the size of a golf ball. They can be dug with a potato fork or similar tool.
Storing
Beets will keep two weeks or more under refrigeration; beet greens will keep one to two days. Cut off their tops and store beets in a cool, humid place with temperatures ranging from 32 to 40 degrees Fahrenheit.
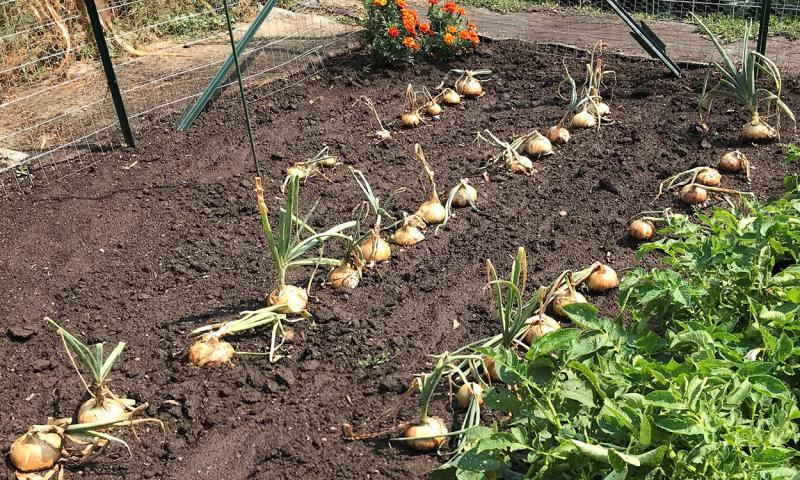
Onions (Bulbs)
Harvesting
You can harvest fresh onions at any time, but if you want to be able to store onions, wait until the onion plant tops begin to dry and fall over at the top of the onion bulb. Pull the bulbs gently, and place them in a warm, dry airy area out of the sun for a few days. This can be on the ground, as long as it isn’t wet (although a drying rack is ideal); avoid direct sun, as some types on onions can get sunburned as they are curing. Don’t remove the foliage yet – the drying leaves will help draw moisture away from the neck of the bulb and decrease storage rots. The bulbs can finish drying indoors in a warm, dry area for a week or two.
Once the outer bulb scales begin turning a brown, tan or a reddish color (red onions), the onion is cured. You can carefully remove a few of the outer scales if they still are coated in dirt, but do not remove all the outer scales, because these act as a wrapper for the bulb. This wrapper of leaves protects the fleshier inner-bulb scales and also helps to protect the bulb from excessive drying.
Storing
When the onions are cured, you can transfer them to mesh sacks, a plastic ventilated crate or a box with holes in it. Store the dried bulbs in a warm, dry location (they will actually keep longer at 80 degrees Fahrenheit than at 60 degrees Fahrenheit as long as relative humidity is below 70%) until you are ready to use them. They may also be stored in a refrigerator. Yellow onions will keep in storage the longest; red onions the shortest.
Potatoes
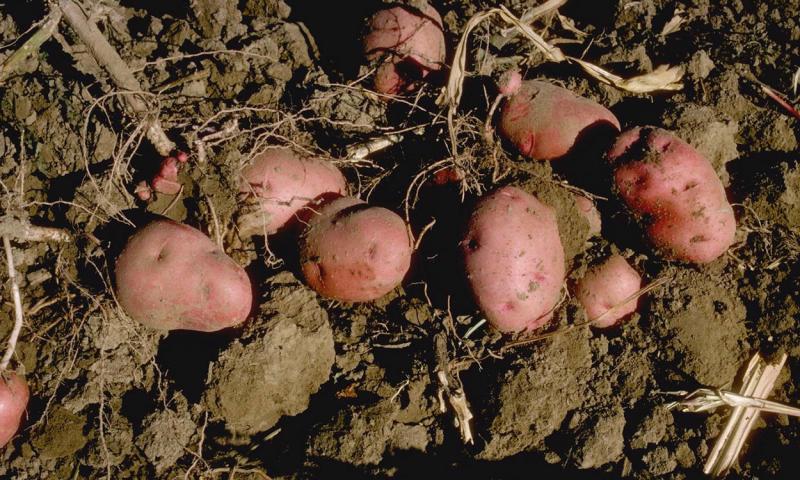
Harvesting
Allowing potatoes to stay in the ground for a week or two after the tops die helps the tubers to “set” their skins, so that they will store much longer. The process may be aided by cutting off vines a few days before harvest.
Storing
After digging them, allow the tubers to further cure by storing them in a dark but well-ventilated area at cool room temperatures (60 to 68 degrees Fahrenheit is ideal) for a few days to two weeks. The tubers will then keep best stored at 40 to 50 degrees Fahrenheit in relatively high humidity. If you don’t have an area that can be kept at that those temperatures, place the potatoes in the coolest area of the house, for example a basement corner may stay cooler. However, do not refrigerate potatoes, as they will convert their starch to sugar. Potatoes should always be kept in a dark area, or they will turn green and develop toxins. Do not store potatoes near apples or tomatoes, as ethylene given off by them may cause the potatoes to sprout.
Storage Tips
Washing
Should root vegetables be washed before storing? Not if they just have a bit of dirt clinging to them. If they are muddy, they can be gently washed. Make sure they are air-dried (they can be slightly damp, but not wet) before storage, or else storage rots will have an opportunity to set in.
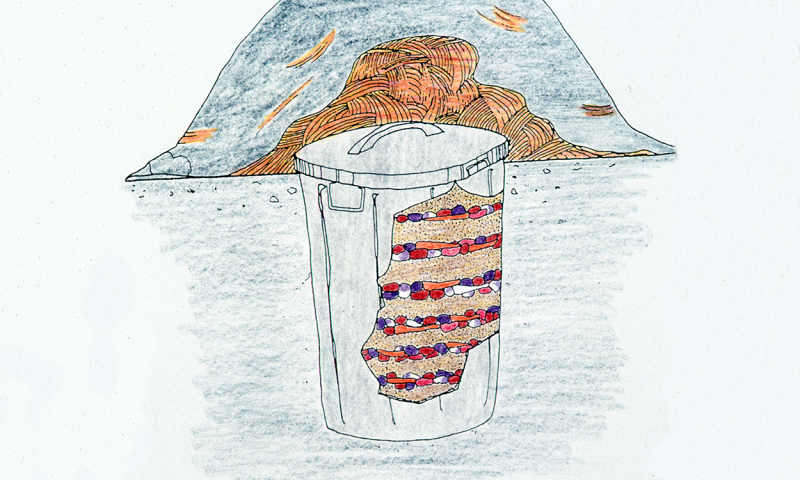
Garbage Can Storage
Root crops may also be stored in a garbage can dug into the ground, layered with slightly damp sand (Figure 5). Straw or other insulating material is then placed over the top to prevent freezing.