Asparagus is a favorite vegetable of many people who cultivate it in their gardens. It is one of the first vegetables to be ready to harvest in the garden and being a perennial, it comes back year after year. Some people enjoy “hunting” asparagus on back roads in the countryside. Birds will often eat the asparagus fruit then later spread the seed in their droppings as they sit on a fence along the side of the road. After a few years, plants grow large enough to be harvestable. The trick is to find the young tasty spears before someone else does. They can be hard to find, growing down in the grass. It’s almost like going Morel mushroom hunting – but finding them before someone else has is even more challenging! Once you find a patch, devise some way to mark its location so you can come back to it again later. Perhaps here is another way to utilize the GPS functions on your smart phone! Also remember not to collect asparagus on private land without the permission of the landowner.
Plant Selection
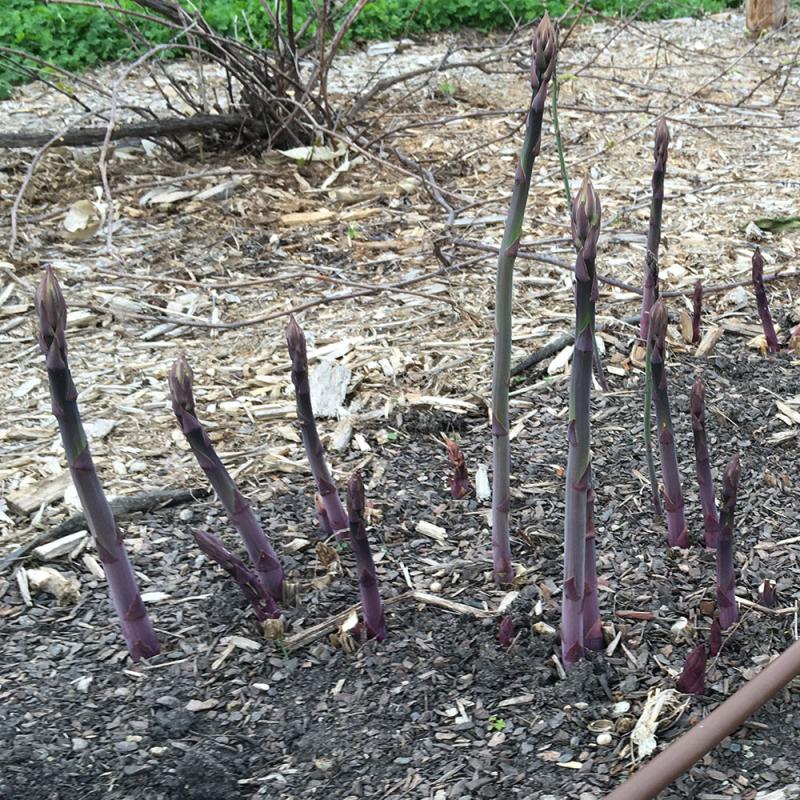
Unlike most vegetables, asparagus is a perennial plant, usually planted as 1-year old crowns that you would purchase from a nursery, garden center, online or from a catalog. It is best to get the crowns from a reputable source rather than trying to dig plants from a ditch or even a friend’s garden. Well-established plants can be very difficult to dig up, resulting in significant damage to the crown buds and roots. In addition, it is possible that the plant may be infected with a disease that you do not want to bring into your garden. Buying from a nursery or other source allows you to choose your cultivar too. ‘Purple Passion’ is one that I particularly like because it is a male cultivar. This means that it will not produce seed which can rob some nutrients from the parent plant and also lead to weedy seedlings popping up outside the row. There are other male cultivars, which are generally more productive than the mixed male and female selections, available but this one adds the extra bonus of having purple-colored spears that are quite attractive. The purple color does fade during cooking however.
Planting & Care
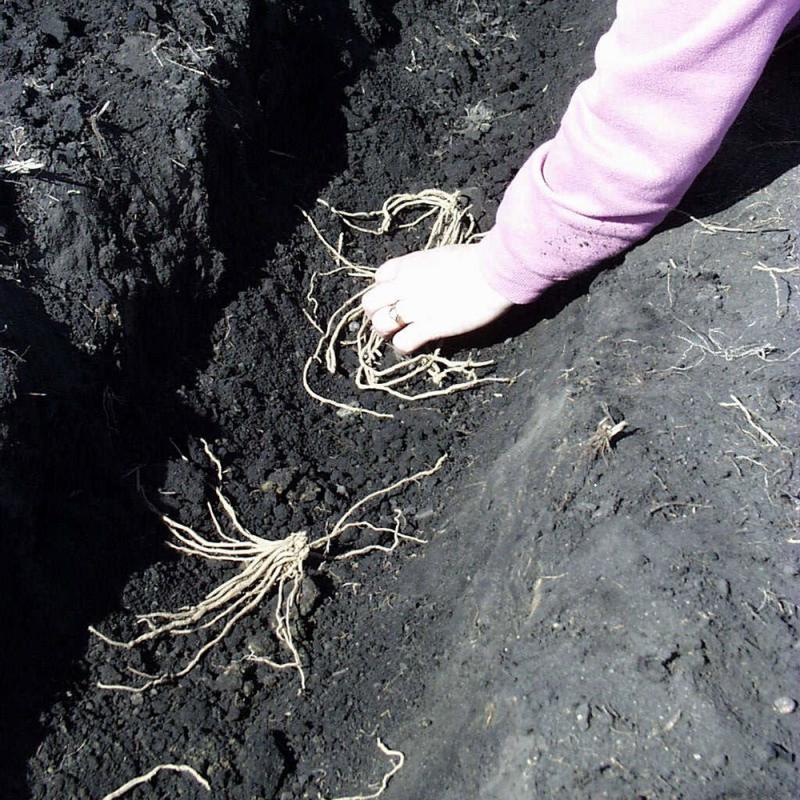
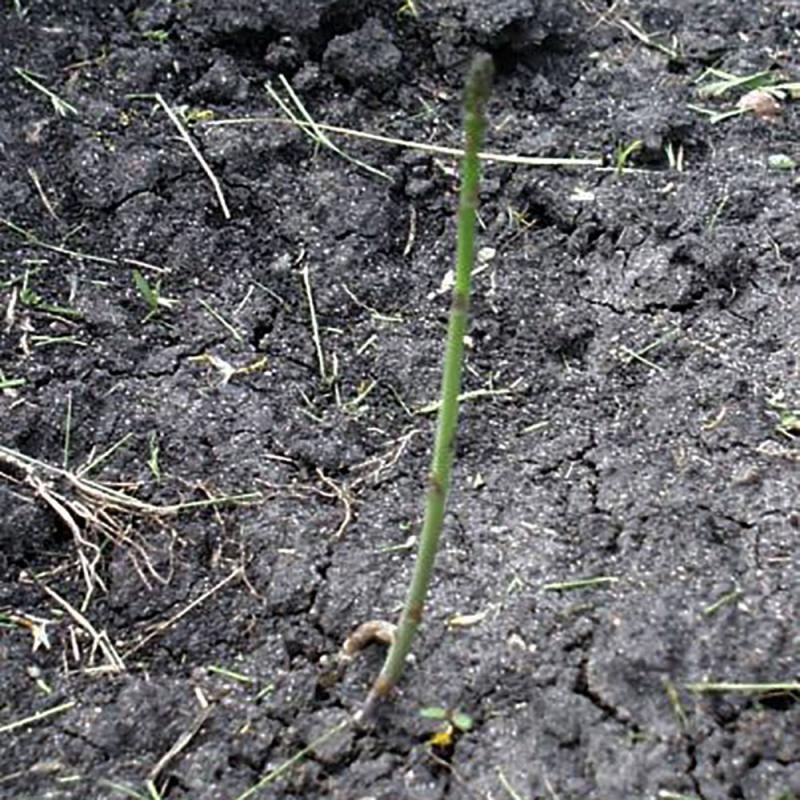
Asparagus crowns should be planted in a trench about 10” deep, slightly shallower in heavy clay soils. Make sure the trench is wide enough to easily accommodate the roots on the crowns you are planting. If you want, mixing an inch of compost into the soil at the bottom of the trench can be beneficial to the asparagus getting established. Place the crowns in the bottom of the trench with the buds pointing up, spaced about 12 to 18” apart. Cover with 2 to 3” of the soil that you dug out to make the trench and water thoroughly. As the first spears begin to grow, gradually fill in the trench until it is completely full. Do not harvest any of the spears the first year, they are important to manufacture food to feed and build up carbohydrate supplies for the crowns in the soil. If possible only take one harvest from the plants in the second year, then allow the spears to grow to their full height again for the rest of the season. In the third year, you can harvest for about three weeks but stop harvesting if the spears decrease in size to that of a pencil or less. That will be an indication that the plants are weak and need to rebuild their carbohydrate reserves.
Planting deeply like this helps protect the asparagus crowns from the extreme cold and fluctuating temperatures in the spring which might entice the plants to grow too early in the spring an suffer freeze injury. It also allows you to perform shallow tillage right over the top of the asparagus without causing it any damage.
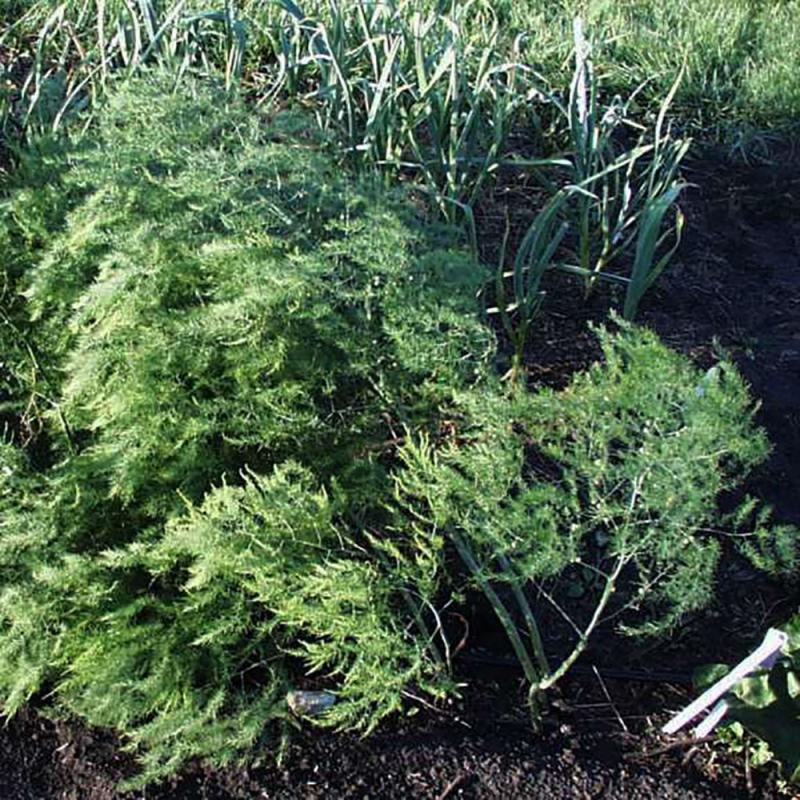
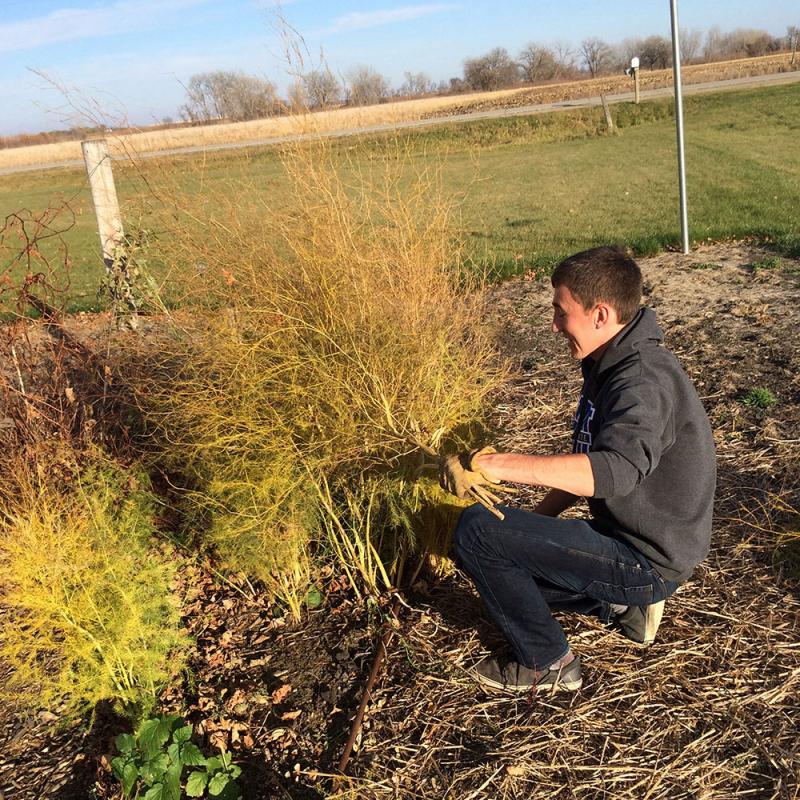
The ferny growth can make an effective screen in the landscape as well as a pretty good snow fence during the winter months, but beware, it might create a snow drift in an unfortunate location. I found out that I have to cut down my asparagus every year after it has frozen, otherwise when we have snow and northwest winds, the drift ends up right on the driveway.
Harvest
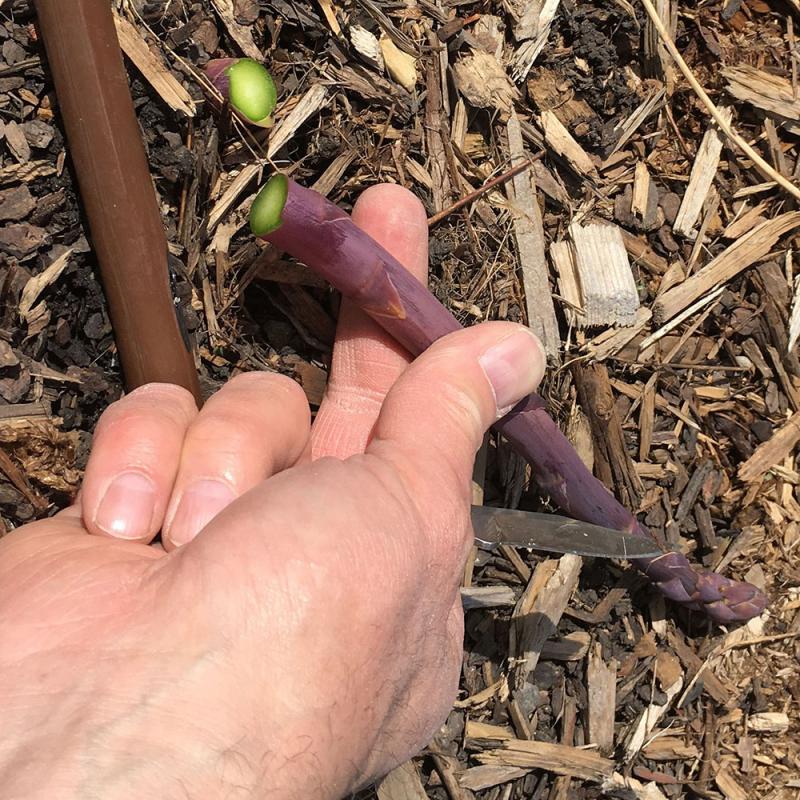
Asparagus can be very productive over many years – a healthy, maintained planting can remain productive for over 20 years! Harvesting is very easy as well, just use a sharp knife to cut the tender spears close to the soil line. For best quality and tenderness, harvest when the spears grow 8 to 12” in length. If they are allowed to grow taller, the base of the spear becomes more fibrous and the top begins to branch out, making it less desirable to eat. You can harvest from well-established asparagus plants for about six weeks in the spring of the year, then the spears should be allowed to grow to their full height and remain growing until they are killed by freezing temperatures in the fall of the year.
Pest Management
There are few pest problems in asparagus but weeds can be a big one. I like to try to work on weed management every time I harvest, which is usually every other day during harvest season. I watch for small weed seedlings and just pull them out with my fingers as I harvest down the row. This will work well for seedlings of both annual and perennial weeds. Established perennial weeds are more of a problem. Thistles and quack grass are probably the two worst weeds to contend with. Try using a garden trowel to dig these out during the growing season as frequently as you can to keep them from gaining too much strength. Then, in the fall, after a hard freeze has killed the asparagus ferny growth and you have cut it all out, down to the ground, you can spot spray with a non-selective herbicide like glyphosate to kill the weeds. Allow the weeds to gain a few weeks’ worth of growth before the typical first hard freeze so there is plenty of tissue to absorb the herbicide. Generally the weeds are more cold tolerant than the asparagus so it is still actively growing enough that the herbicide can be effective. Just try to do it on a warm, calm day for best effectiveness.
I like to add compost to my asparagus bed each year if I can. I wait until after my last harvest before applying a couple inches of the compost over the top of the bed. This will provide nutrients to the plants as it decomposes and also help to keep down weeds by acting as a mulch. Alternatively, you could apply it in the fall, after you have cut down the ferny growth. Composted manure will also work well and provide even more nutrients to the plants, but probably just an inch layer over the plants will be sufficient. Make sure whatever you use is not loaded with viable weed seeds or you might then have to deal with those in the growing seasons to come.