Written by Tyler Geltmacher, Graduate Research Assistant, under the direction and review of Lora Perkins, Professor in the Native Plant Initiative and the SDSU Department of Natural Resource Management; and Robin Buterbaugh.
Hand harvest of native plant seed is a low-cost and low-tech method suitable for collecting seed for small-scale use. Although large-scale seed production and collection requires intense planning, as well as lengthy seed cleaning and storage protocols, personal collection efforts can be simple. The steps for successful hand harvest include: identifying populations of desired species that are ready for collection, harvesting, cleaning (if necessary), and storage. Be sure to only harvest seed from a location where collection is allowed.
Hand Harvest Guidelines
Supplies Needed
- Garden gloves
- Scissors or garden clippers
- Paper bags (various sizes)
- Bucket or large bag for bags of different seeds
- Marker or pen for labeling bags
- Coin or seed envelopes for storing dried seeds
Identifying Desired Plants
It is important to take a conservation-minded approach when identifying native plant populations for seed collection. Plant populations should have at least 30 plants to be suitable for seed collection, and seed should be collected from no more than 30% of a population. This conservative collection leaves enough seed for that plant population to persist into the future. Collecting seed from multiple populations that are 0.5 to 1.0+ miles apart ensures genetic variety.
Harvesting Seeds
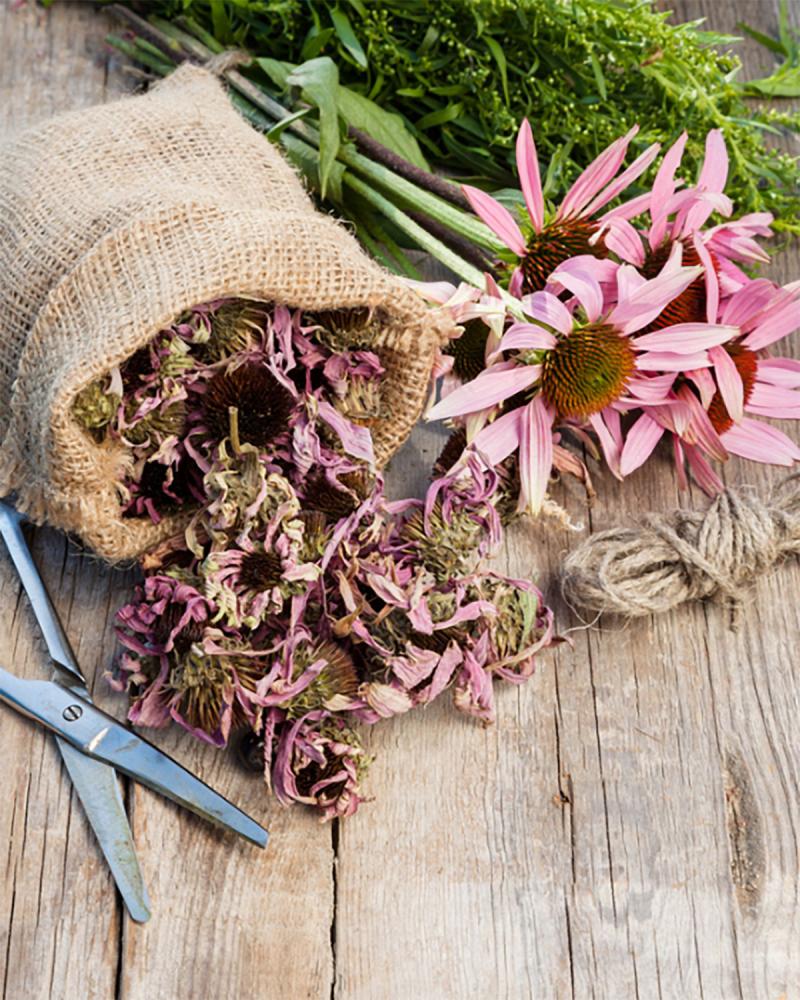
Harvest methods may vary for different species. In general, seeds of most species will easily come off the plant when they are ripe. This can occur anytime between mid-July and November, depending on when the plant matures. Grass seed can be collected by stripping seed off the stem or by clipping the entire head, especially for grasses with compact heads of small seeds, such as Junegrass (Koeleria macrantha). Flower species are more variable. Prairie coneflower (Ratibida columnifera) seed can be stripped off, whereas narrowleaf purple coneflower (Echinacea angustifolia) is easiest collected by clipping the entire head. Fleshy fruits should be collected when they are freely falling off the plant. The seeds can be separated, or fruits can be allowed to fully dry before separation or storage.
Cleaning Seeds
Seed cleaning can vary based upon storage capacity and conditions, as well as your intended planting method. For home use, most seeds do not need to be fully cleaned if they are properly dried. Species where individual seeds can be stripped or removed can be stored after air drying. For species where the entire head is collected, further hand cleaning can be useful for proper planting. Junegrass (Koeleria macrantha) heads can be manually broken down by rubbing seeds loose or by breaking the heads apart. Narrowleaf purple coneflower (Echinacea angustifolia) seed can be separated by rubbing the heads with your thumb until the seeds fall out or by breaking the heads apart, as the extra plant material does not need to be separated for small-scale plantings.
Storing Seeds
Proper storage is even more important than seed cleaning. Proper storage ensures the long-term viability of the seed. High heat and high humidity can cause damage or kill seeds. Collected seeds can be stored in a paper bag to allow moisture to escape and then placed in front of a fan to ensure proper drying. Smaller amounts of seeds can be air dried on screens or racks in a protected location. The U.S. Forest Service presents an easy-to-follow rule-of-thumb called the 100 rule. The guideline states that the sum of temperature and humidity percent does not exceed 100 in the storage location. Seed that is properly allowed to air dry and then stored in the refrigerator will have the best success in future plantings.
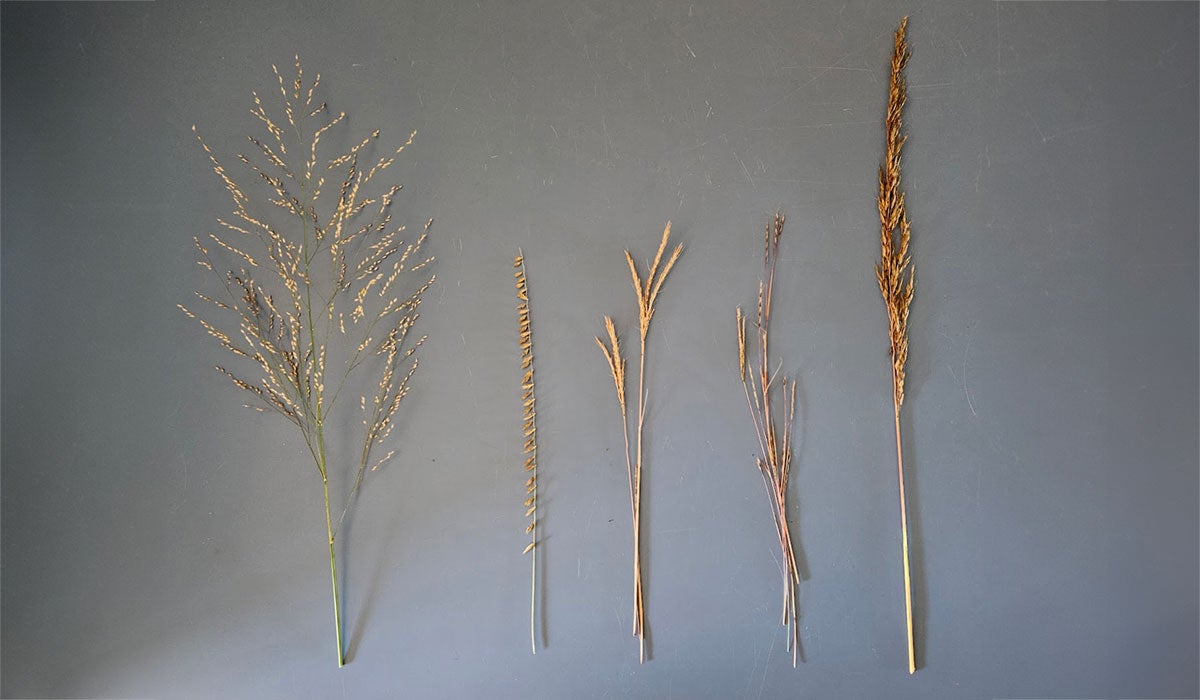
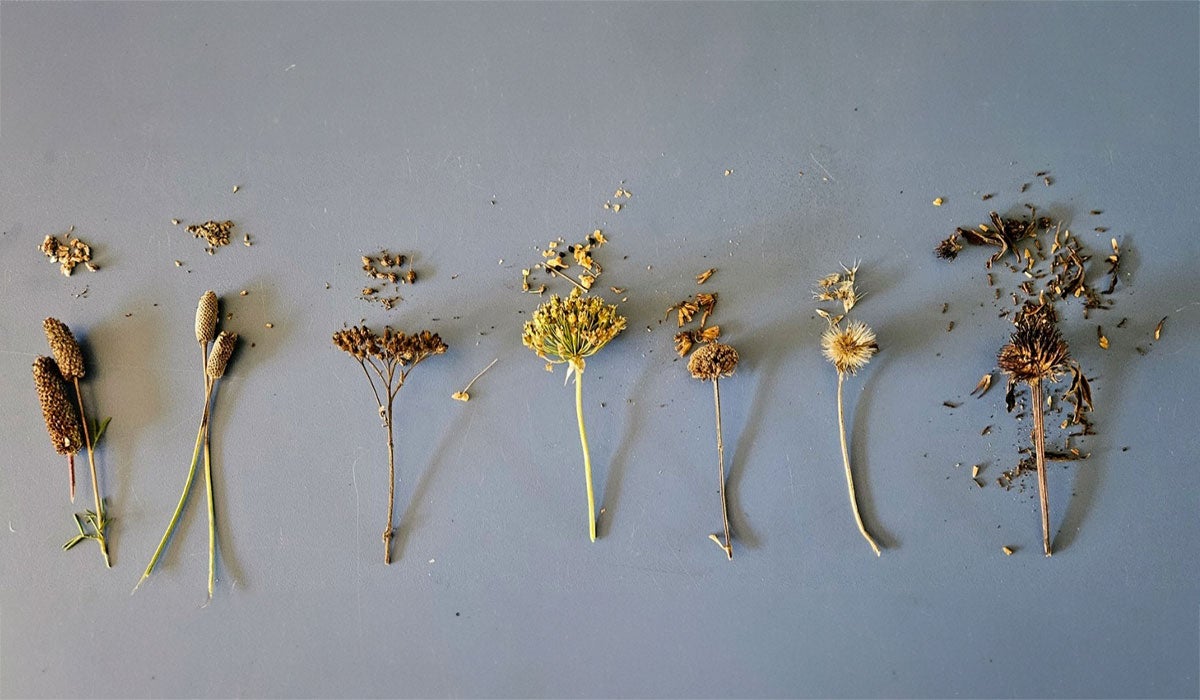
Native Plant Seed Examples
Grasses
Forbs (Flowering Plants)
Cold Stratification for Native Plant Seeds
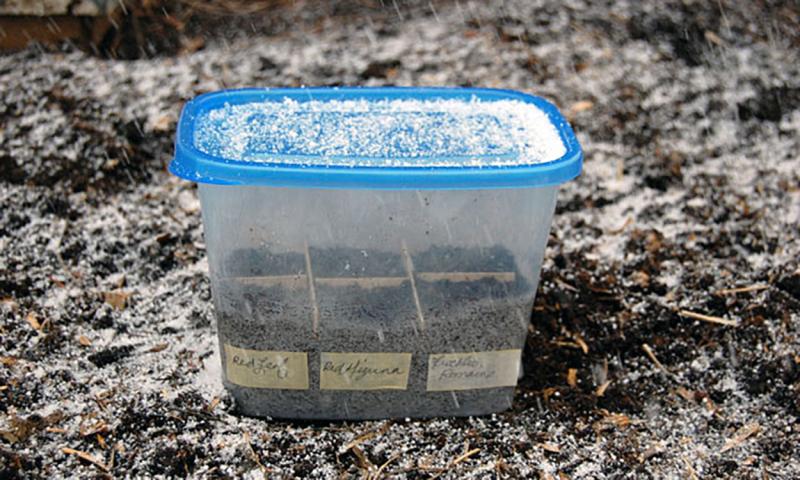
Native plant seeds require specific conditions for proper germination. Often, cold stratification gives native plants the best chance for germination success. Cold stratification is the natural process of overwintering seeds to break dormancy and ensuring that they do not germinate too early. While not all species require stratification for successful establishment, the process reduces the chance of planting dormant seed and can improve the initial success of a planting. Cold stratification can be achieved by fall planting your native species and allowing the winter of the Northern Great Plains to promote this natural process. If fall planting cannot be achieved, artificial cold stratification can be achieved in the home.
Artificial Stratification
To mimic the natural process of cold stratification:
- Place seeds in a moistened paper towel, sand, or vermiculite, and seal them in a closed container, such as a zip-top plastic bag.
- Place in the refrigerator at 33°F to 40°F for one to three months (2 weeks minimum).
- After stratification, plant the seeds in containers or sow them directly into the planting site.
Length of stratification varies by species and can be researched, however; a rule-of-thumb is to check seeds periodically for germination and to plant them immediately if they have germinated. Containers can be used if outdoor conditions are not suitable for transplanting. When checking seeds, ensure that excess moisture that could cause mold is removed, but also be sure that the seeds do not become dry.
Reference
- Collecting Native Seed, U.S. Forest Service.
About the Native Plant Initiative
Native plants are the foundation that supports insects, pollinators (including bees), birds and wildlife.
Learn More

